

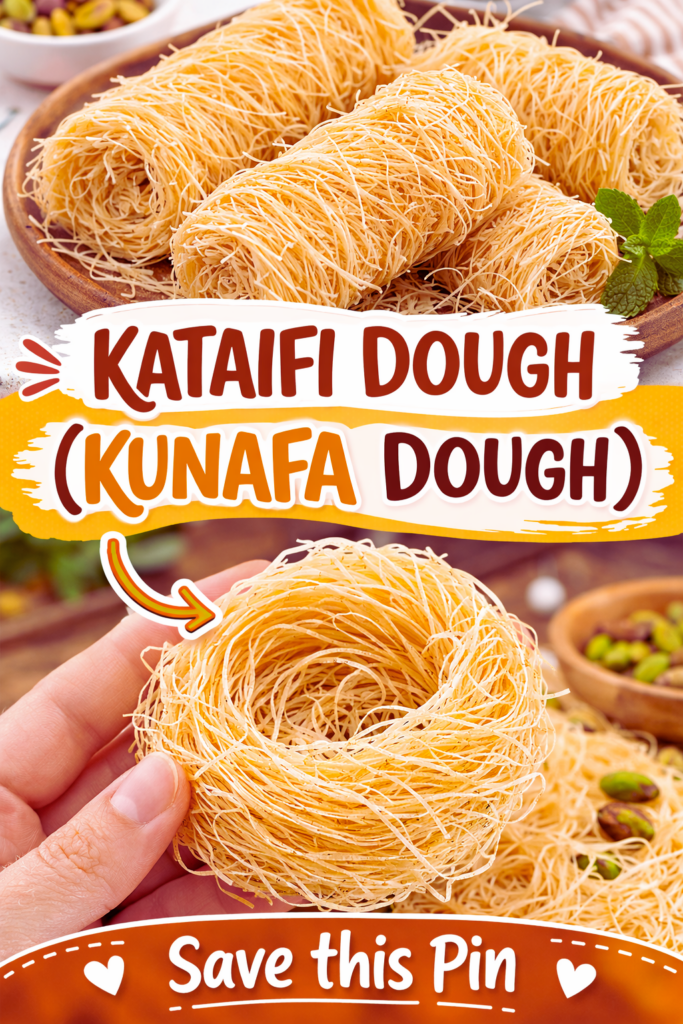
Kataifi Dough (Kunafa Dough) is one of those things I used to stare at in the store freezer like, what am I even supposed to do with this? I knew I loved knafeh from bakeries, but making it at home felt like a big, dramatic project. Then one weekend I finally tried it, made a tiny mess, learned a couple tricks, and realized it is actually very doable. If you have ever ended up with soggy kunafa or dry, crunchy strands that never soak up syrup, this post is for you. I am going to walk you through what to buy, how to handle the dough, and how to pick the right pan so it bakes evenly.
INGREDIENTS NEEDED AND WHERE TO FIND THEM
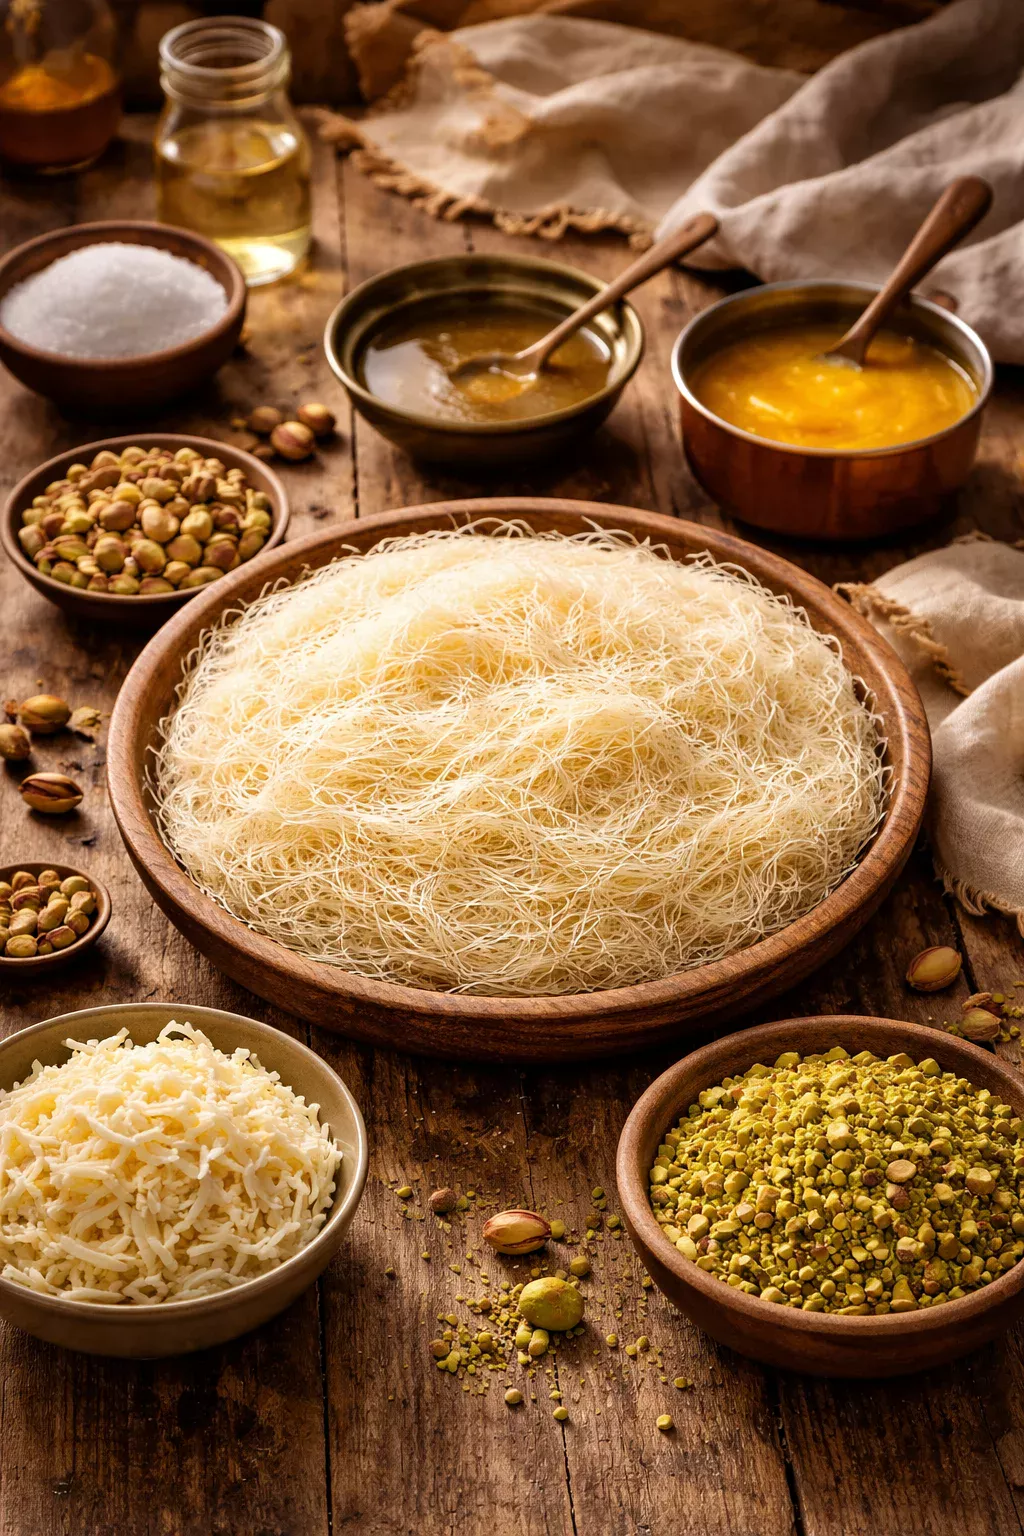
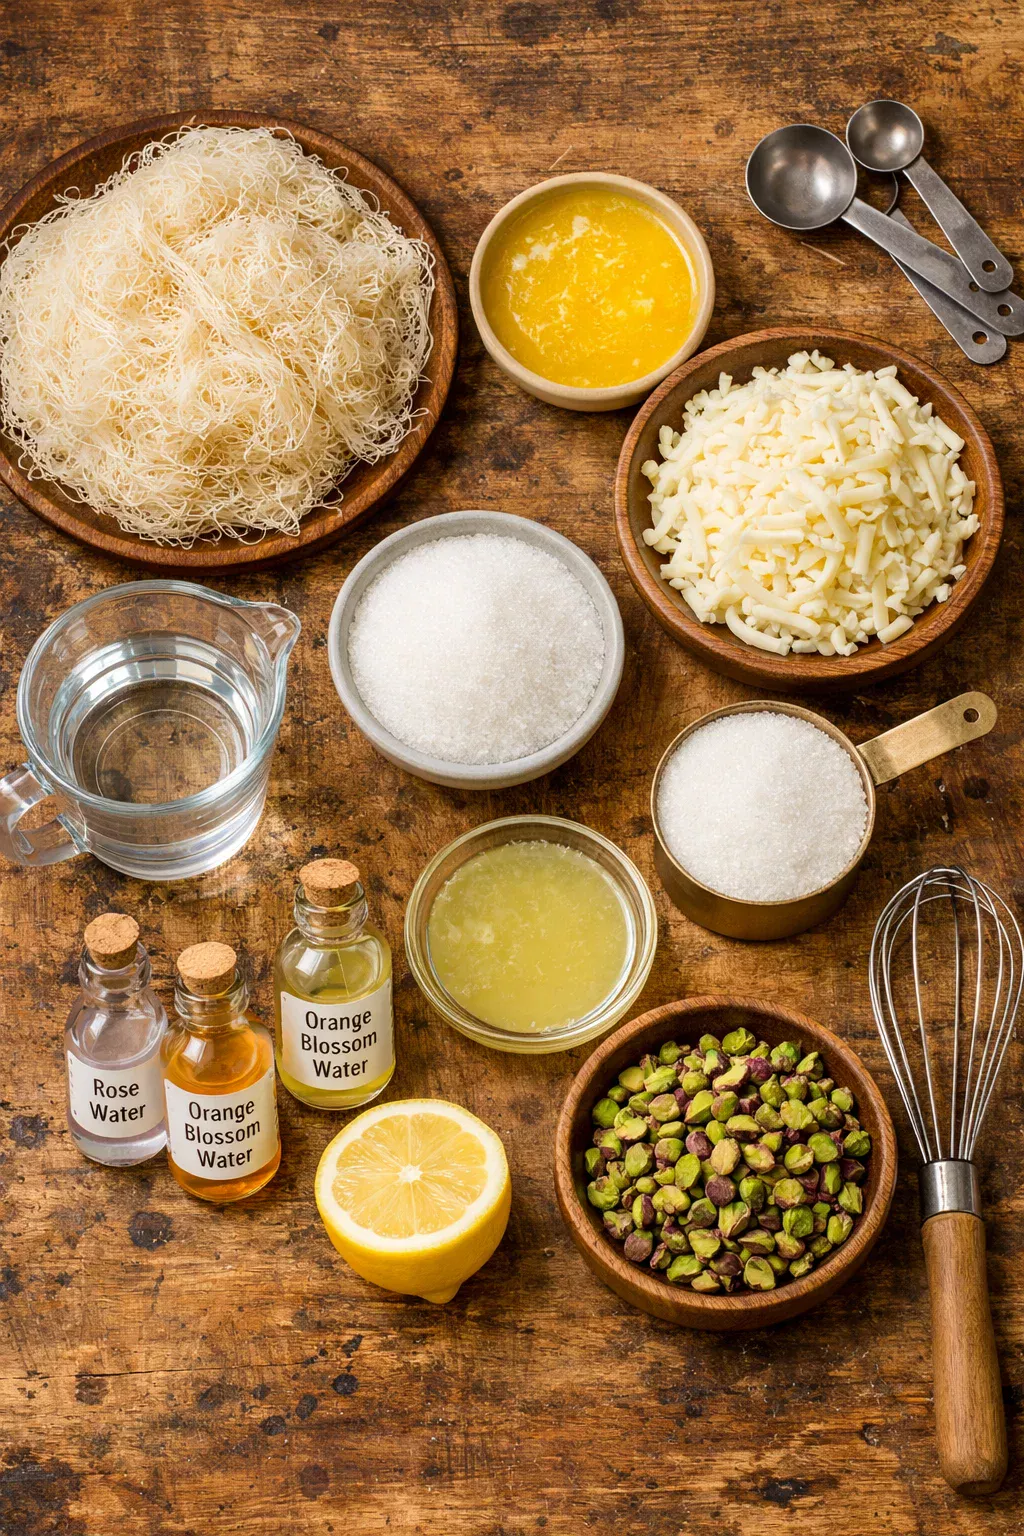
Let’s keep this simple: great knafeh comes down to a few basic ingredients, and the biggest difference is how you treat the dough. The good news is you can find most items in a regular grocery store, and the rest in a Middle Eastern market or online.
My basic shopping list
- Kataifi Dough (Kunafa Dough): usually sold frozen in long, tangled strands. Look in the freezer section of Middle Eastern or Mediterranean shops.
- Butter or ghee: butter works perfectly. Ghee gives a deeper, toastier flavor.
- Cheese: for classic knafeh, use a mild melting cheese (like mozzarella) and if you can, mix in a little traditional knafeh cheese. If you only have mozzarella, do it. Just buy low moisture if possible so it does not get watery.
- Sugar and water: for syrup.
- Lemon juice and optional rose water or orange blossom water: that signature bakery aroma comes from these.
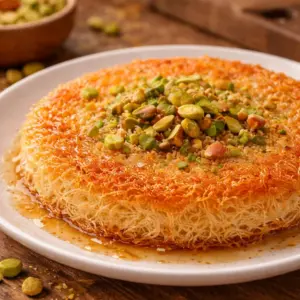
- Pistachios: chopped, for topping.
- Food coloring (optional): some people tint the butter or base for that classic golden look. I usually skip it and let the browning do its thing.
Where I buy mine: if you have a Middle Eastern grocery nearby, that is the easiest place to grab the dough and sometimes the cheese too. If not, online works fine. I also like to keep a backup pack in the freezer because cravings are real. If you are building out your dessert basics, you might also like my simple sugar syrup guide because it is the same idea you will use here, just with the lemon and floral water twist.
One important handling note: thaw the dough in the fridge overnight if you can. If you rush thaw it on the counter, it can sweat and clump. Not the end of the world, but it makes the strands harder to separate. And separating the strands is basically the whole game.
If you are wondering whether you can use shredded phyllo sold under different names, yes. A lot of packages call it kataifi or kunafa dough, and it is the same style of thin shredded pastry. Just check it is strands, not sheets.
HOW TO MAKE KNAFEH
This is the part people overthink. The process is really just: loosen the dough, butter it well, layer it, bake it, syrup it. The timing matters, and so does how evenly the butter is mixed in.
My step by step method (the way I do it at home)
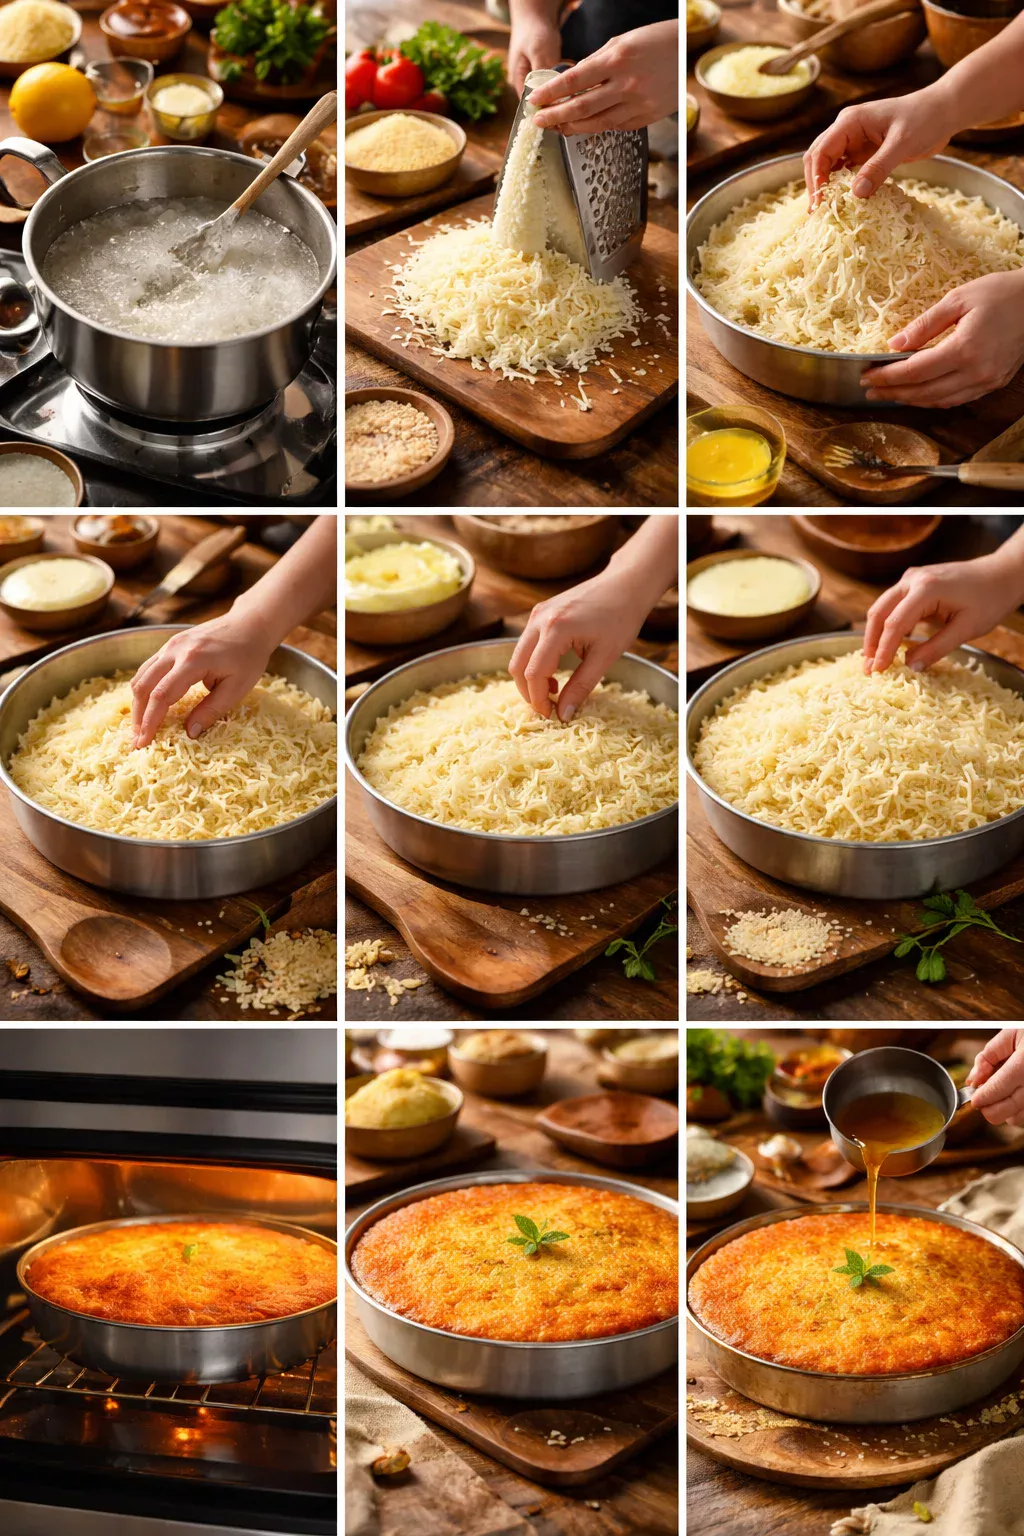
1) Make the syrup first. I know it feels backwards, but you want syrup cooled and knafeh hot, so the soak is perfect. Combine sugar and water, simmer for about 8 to 10 minutes, add a squeeze of lemon, then turn off the heat and add a tiny splash of rose or orange blossom water. Let it cool.
2) Prep the cheese. If you are using mozzarella, shred it. If it feels wet, pat it with paper towel. If you are mixing cheeses, keep the flavors mild because syrup is coming and you want that sweet salty balance.
3) Separate the dough. Put the thawed Kataifi Dough (Kunafa Dough) in a big bowl and gently pull it apart like you are fluffing hair. No need to be aggressive. You just want it loose and airy, not packed.
4) Butter the dough evenly. Melt butter or ghee, then drizzle it over the strands a little at a time while tossing with your fingers. This part matters a lot. Dry spots turn pale and crunchy. Over soaked spots can get heavy. You are aiming for strands that look glossy and lightly coated.
5) Layer it in the pan. Press about half the dough into the pan as your base. Add cheese in an even layer, leaving a small border. Then cover with the rest of the dough and press down gently so it holds together.
6) Bake until deep golden. Bake until the top is evenly browned and smells like toasted butter. If the top browns too fast but the middle feels soft, lower the heat slightly and give it a few more minutes. Every oven is moody, so keep an eye on it.
7) Syrup while hot. As soon as it comes out, pour cooled syrup all over. You will hear that little sizzle, which is honestly one of my favorite sounds. Let it sit 10 minutes before cutting so it sets.
If you want another sweet that uses a similar crisp and soak idea, I have a cozy write up on baklava for beginners that might make you feel brave in the kitchen too.
“I tried your knafeh method last weekend and it was the first time my base didn’t go soggy. The cooled syrup tip made such a difference, and my family finished the whole pan in one sitting.”
WHAT PAN TO BAKE KNAFEH IN?
The pan is not just a container here. It affects browning, crispness, and how easy it is to flip. You can absolutely make knafeh without a special pan, but a few choices will make your life easier.
My favorite is a round metal pan, something like a cake pan or a shallow pizza style pan. Metal conducts heat better than glass, so you get a more even golden crust. If all you have is glass, it can work, but you may need a little more time and you will want to watch the color closely.
Here is what I look for:
- Shallow sides if possible, so steam does not get trapped and soften the crust.
- Heavy metal for even heat, especially if you want that bakery style browning.
- Nonstick is helpful, but butter usually does the job.
Flipping question: some people flip the knafeh onto a platter so the prettiest side is on top. I do it when I am feeling confident. If you are nervous, bake it and serve it right from the pan. Nobody complains when it tastes good.
Also, if you are into Middle Eastern desserts beyond knafeh, you might enjoy my quick guide to pistachio desserts because once you start topping things with pistachios, it becomes a lifestyle.
Mini Kunafa or Kunafa Cupcakes
This is my go to move when I want to impress people without babysitting a giant tray. Mini kunafa is also easier to portion, and the edges get extra crispy, which is my personal weakness.
How I do it: I grab a muffin tin, butter it well, and press a small nest of buttered Kataifi Dough (Kunafa Dough) into each cup. Add a little pinch of cheese (or even a spoon of sweet cream filling), then top with a bit more dough and press gently.
Bake until golden, then syrup them while hot. Let them sit a few minutes, then lift them out. If you buttered the tin properly, they should pop out with a little coaxing.
Mini ideas that actually work:
- Cheese minis: classic, salty, stretchy.
- Nut minis: chopped pistachios or walnuts inside, then syrup.
- Chocolate minis: a square of chocolate tucked inside turns into a molten center. This is not traditional, but it is fun.
If you are planning a party table, minis also sit nicely next to other small sweets and coffee. You can make them earlier in the day, and right before serving, warm them for a few minutes and add a tiny spoon of syrup if needed.
Pan sizes
Pan size affects thickness. Thickness affects bake time and how the syrup soaks in. Too thick and the center can stay soft and underdone. Too thin and it can dry out fast.
Here is a simple way to think about it: use a larger pan for a thinner, crispier knafeh, and a smaller pan for a thicker, gooier center. Neither is wrong, it is just the vibe you want.
My practical pan notes:
- 9 inch round pan: great for a standard batch and a thicker layer. Bake time usually a bit longer.
- 10 to 12 inch pan: thinner layers, more crunch, quicker browning.
- 13 by 9 inch pan: good for crowds. Just spread evenly and keep an eye on the corners because they brown first.
If you ever feel like your syrup disappears too fast, you likely baked it a little dry or made the layers too thin. If it turns soggy, you probably used warm syrup on warm knafeh or added way too much syrup at once. I like to pour most of it, let it absorb, then add a touch more only if needed.
Common Questions
Do I have to thaw the dough first?
Yes, thaw it so you can separate the strands. Overnight in the fridge is easiest and gives you the best texture.
Can I make Kataifi Dough (Kunafa Dough) desserts ahead of time?
You can bake it ahead, but it is best the same day. If you need to prep, assemble it and keep it in the fridge, then bake before serving and syrup while hot.
What cheese is closest to bakery knafeh?
A mild melting cheese is the safest at home. Mozzarella is common. If you can find knafeh cheese, mix a little in for that more authentic bite.
Why did my top brown but the inside stayed soft?
Usually the heat was too high or the layer was thick. Lower the oven temp a bit and bake longer so the center has time to cook.
Can I freeze baked knafeh?
You can, but the crust will lose some crispness. If you freeze it, reheat in the oven to bring back texture, then add a small spoon of syrup if it needs it.
A sweet little wrap up before you bake
If you remember just a few things, make it these: separate the strands well, coat them evenly in butter, and keep your syrup cooled so it soaks in perfectly. Once you get the feel for Kataifi Dough (Kunafa Dough), it stops being intimidating and starts being one of those fun, impressive desserts you can actually pull off on a random weekend. If you want to compare styles, I really like this recipe for Palestinian Knafeh (Kunafa) – BAKE WITH ZOHA because it explains the classic approach in a clear way. And if you are still hunting for the dough itself, this listing for Kunafa Dough | Kataifi / Kanafeh Dough/ Shredded Thin Vermicelli … can help you recognize what the packaging often looks like. Go make a pan, pour that syrup, and tell me if you also stand there sneaking the crispy corner pieces before anyone notices.
Knafeh
Ingredients
Main Ingredients
- 1 package Kataifi Dough (Kunafa Dough) Usually sold frozen in long, tangled strands.
- 1/2 cup Butter or Ghee Butter works perfectly; ghee gives a deeper flavor.
- 2 cups Cheese (mozzarella or traditional knafeh cheese) Use a mild melting cheese; ensure low moisture if using mozzarella.
- 1 cup Sugar For syrup.
- 1 cup Water For syrup.
- 1 tbsp Lemon juice For syrup.
- 1 tsp Rose water or Orange blossom water (optional) For added aroma.
- 1/4 cup Chopped Pistachios For topping.
- 1 tbsp Food coloring (optional) For a classic golden look.
Instructions
Make the Syrup
- Combine sugar and water in a pot and simmer for about 8 to 10 minutes.
- Add a squeeze of lemon juice, then turn off the heat and stir in a splash of rose or orange blossom water. Let it cool.
Prepare the Cheese
- Shred the mozzarella cheese (if using). If wet, pat with a paper towel. Keep flavors mild if mixing cheeses.
Separate the Dough
- Place thawed Kataifi Dough in a large bowl and gently pull it apart to fluff the strands.
Butter the Dough
- Melt the butter or ghee and drizzle it over the dough, tossing gently to coat evenly.
Layer in the Pan
- Press half of the dough into the bottom of a baking pan, add the cheese evenly, then cover with the remaining dough and gently press down.
Bake
- Bake until deep golden brown and fragrant, about 30 minutes. Lower the heat slightly if the top browns too quickly.
Soak with Syrup
- Pour the cooled syrup over the hot knafeh immediately after baking. Let sit for 10 minutes before cutting.