
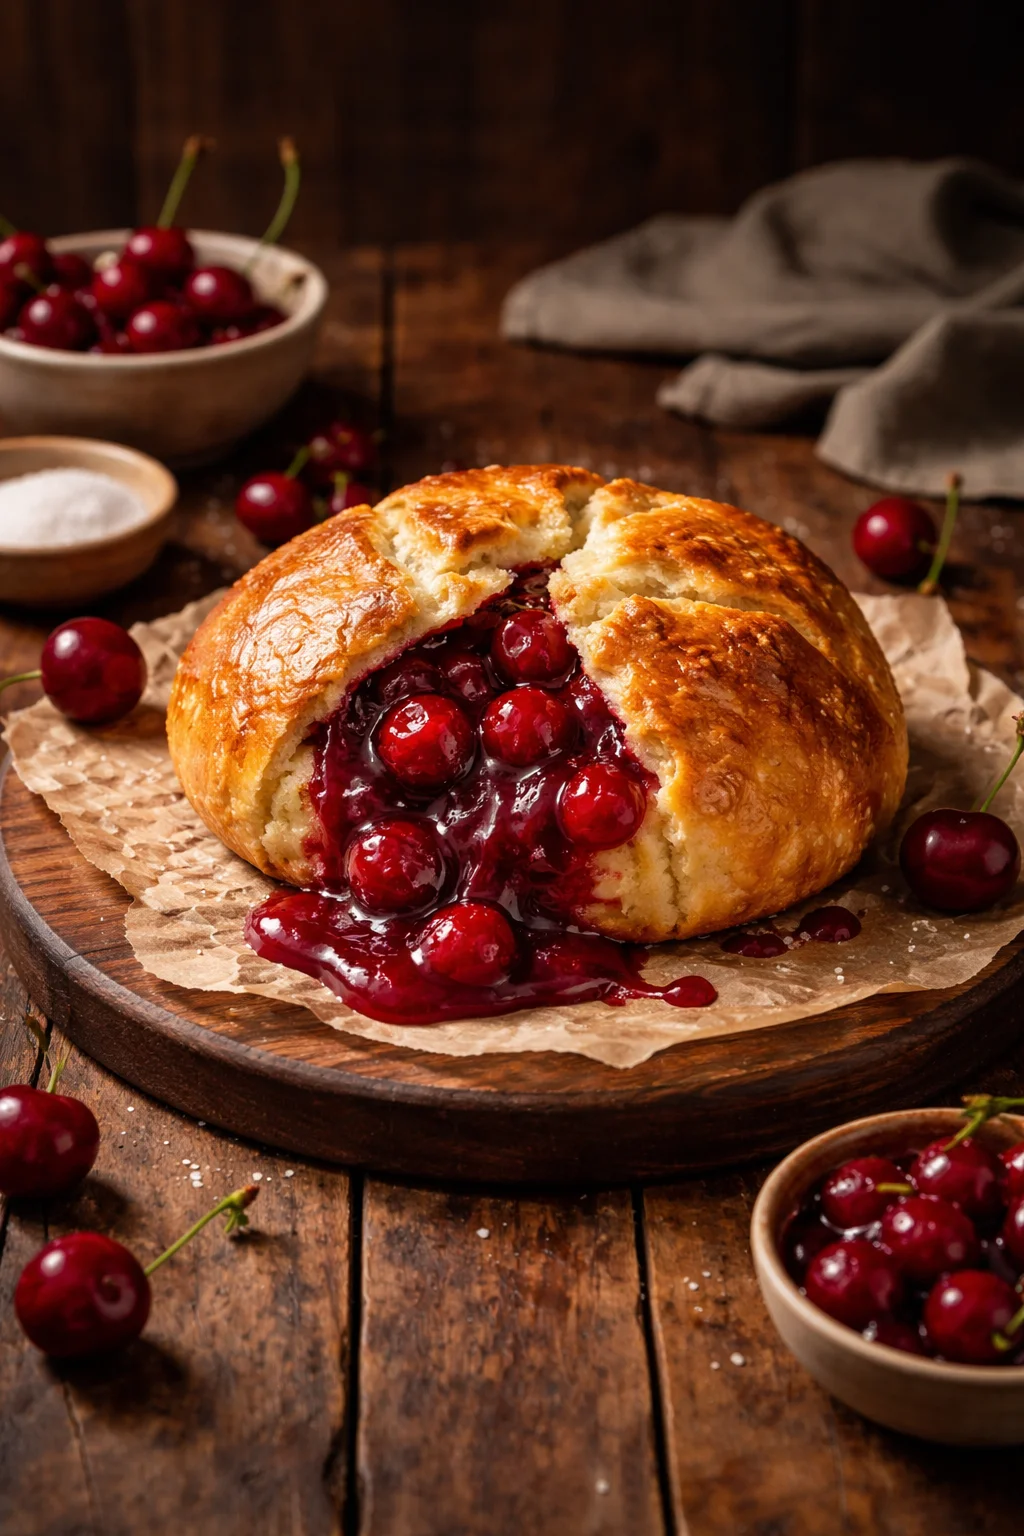
Cherry Pie Bombs are my go to fix for those days when you want something sweet and warm, but you do not want to commit to making an entire pie. You know the feeling, right? You are craving that gooey cherry filling and buttery crust situation, but you also want it to be handheld, snacky, and honestly kind of fun. These little bites check all the boxes, and they are the kind of dessert that makes people hover near the kitchen waiting for the next batch. The best part is they look like you worked way harder than you did.
Can I Bake Cherry Pie Bombs in the Oven?
Yes, you can absolutely bake them, and it is actually my favorite way when I am making a bigger batch. Baking gives you a more even golden outside, and you do not have to stand there watching oil. If you are already using the oven for dinner, it is super convenient.
Here is how I bake my Cherry Pie Bombs so they come out crisp and not soggy:
- Oven temp: 375 F
- Pan setup: Line a baking sheet with parchment paper or lightly grease it
- Brush: A little melted butter on top helps them brown
- Time: 12 to 16 minutes, until golden and puffed
If you like that classic bakery shine, a quick egg wash works too, but butter is easier and still tastes amazing. And if you are the kind of person who always wants “one more cherry thing” on your dessert table, you should peek at these low carb cherry cheesecake ideas. Different vibe, same cherry happiness.
One more practical tip: try not to overfill. Cherry pie filling is sneaky. It looks calm in the spoon, then it gets hot and suddenly wants to escape. If a little leaks out, no big deal. Those crispy jammy bits on the pan are basically a cook snack.
Can I Make Cherry Pie Bombs Ahead of Time?
Yes, and this is where they become party gold. You can prep them earlier in the day, keep them chilled, then bake or air fry when you are ready. They taste best warm, so the ahead of time approach is perfect because you still get that fresh from the oven moment.
My easiest make ahead method:
Assemble the bombs, place them on a tray in a single layer, then cover and refrigerate for up to 24 hours. When you are ready, bake straight from the fridge. You might add 1 or 2 minutes to the bake time since they are cold.
If you are planning a dessert spread, I love mixing a few “cute handheld” treats together so people can graze. These air fryer apple hand pies are in the same easy family and they disappear fast.
“I made these the night before my daughter’s movie night. Baked them right before everyone arrived and they were gone in ten minutes. The cherry filling stayed inside and the outside was perfectly crisp.”
A small real life note: if your dough is getting sticky while you assemble, just pop it in the fridge for 10 minutes. Cold dough is way easier to pinch closed, and you will feel like a genius for doing it.
How to Freeze Cherry Pie Bombs
Freezing is honestly the secret weapon here. When I want a “future me” treat, I make a double batch and freeze half. It is one of those tiny acts of self care that pays off on a random weeknight.
Freeze them unbaked for the best texture
Unbaked freezing keeps the outside flaky and fresh tasting when you bake later. Here is how:
Assemble the Cherry Pie Bombs and place them on a parchment lined tray. Freeze until solid, usually 1 to 2 hours. Then transfer to a freezer bag or container. Label it, because cherry filling can look like “mystery dessert” after two weeks.
How to bake from frozen: Put them on a baking sheet and bake at 375 F for about 16 to 20 minutes. You want them golden and hot in the middle. If you see a little filling bubbling out, that is normal and it smells incredible.
Freezer tip: do not dust powdered sugar before freezing. Do it after baking, right before serving, so it stays pretty.
And if you are on a fun “bite sized sweets” kick, you might also like fat bomb style snacks. This one is a totally different lane, but still super snackable: keto fat bombs.
Substitutions and Variations
This is where you can make the recipe feel like yours. I love cherry, but sometimes I use what I have, or I try to match a theme. Here are variations that actually work without turning into a kitchen experiment.
Dough options
You can use refrigerated biscuit dough, crescent roll dough, or pie dough. Biscuit dough gives a fluffy, bready bite. Crescent dough is softer and more buttery. Pie dough gives the most classic “pie” feel, but it can be a little more delicate to seal. If you go the pie dough route, keep it cold while you work.
Filling swaps
Cherry pie filling is the classic, but you can swap with:
Apple pie filling, blueberry, or even peach. If your filling is super runny, spoon out more fruit than syrup so it does not leak as much.
Fun add ins
If you want them to feel extra special:
Add a tiny pinch of cinnamon to the outside, or mix a little almond extract into a glaze. Cherry and almond together taste like a bakery pastry. You can also tuck in a couple mini chocolate chips with the cherry filling, which feels a little over the top in the best way. Speaking of cherry plus chocolate, these chocolate covered cherry rice krispies treats are a super fun no fork option for parties.
Last thing, do not forget the finishing touch. A simple powdered sugar dusting makes them look bakery cute, and a quick vanilla glaze makes them feel like a real treat. If you are serving them for a holiday, a drizzle of melted chocolate is always a yes.
Storage
These are best warm, like right when they come out and you have to wait a minute because the filling is lava. But if you have leftovers, they store pretty well.
Room temperature: If your kitchen is cool, you can keep them in an airtight container for about 1 day.
Fridge: 3 to 4 days in a sealed container. The outside will soften a bit, but they still taste great.
Reheating: I like the oven at 350 F for 6 to 8 minutes, or an air fryer for 3 to 5 minutes. The microwave works in a pinch, but it makes the dough softer.
If you are packing them up for a friend, put a paper towel in the container to absorb extra moisture. It helps keep the outside from getting too steamy.
Common Questions
Do I need to seal the edges really well?
Yes. Pinch firmly, and if your dough is dry, dab a tiny bit of water on the edge before sealing. A good seal means less filling leaks out.
Can I use homemade cherry pie filling?
Totally. Just make sure it is cooled and not too runny. Thicker filling stays put better inside the dough.
Why did my Cherry Pie Bombs burst?
Usually it is overfilling or a weak seal. Use a smaller spoonful of filling and pinch tighter. Also check bake time because overbaking can cause more leaking.
Can I make Cherry Pie Bombs without powdered sugar?
Yes. You can leave them plain, brush with butter and sprinkle with cinnamon sugar, or drizzle a quick glaze made with powdered sugar and milk if you have it.
What do I serve with Cherry Pie Bombs?
Vanilla ice cream is the obvious win. Whipped cream is great too. If you want something a little extra, warm them up and spoon a little cherry syrup on the plate.
A sweet little wrap up
If you want an easy dessert that feels special, Cherry Pie Bombs are such a good move. You can bake them, prep them ahead, freeze a batch for later, and swap fillings depending on what you have. If you want to compare methods and see other takes, check out Cherry Pie Bombs – I Am Baker and Cherry Pie Bombs – girl. Inspired.. Now go grab that can of cherry filling and treat yourself, because you are about to have your kitchen smelling like a mini bakery.


Cherry Pie Bombs
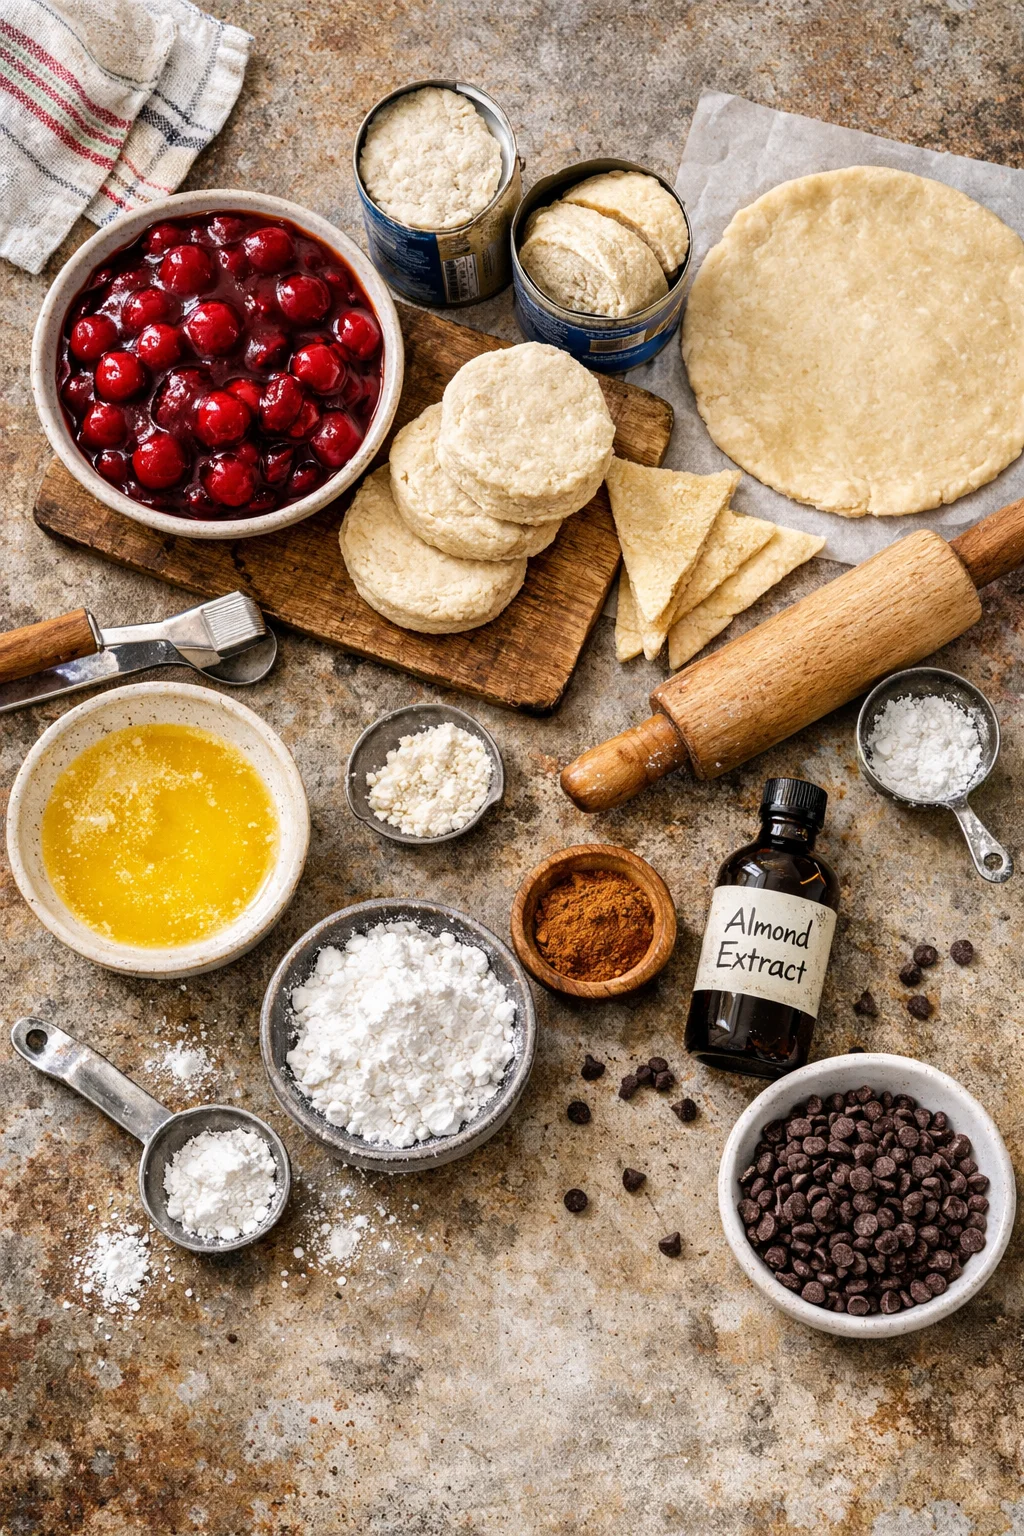
Ingredients
For the Cherry Filling
- 1 can cherry pie filling Or you can use homemade cherry pie filling.
For the Dough
- 1 package refrigerated biscuit dough or crescent roll dough Biscuit dough gives a fluffy texture; crescent roll dough is softer.
- 1 tablespoon melted butter For brushing on top before baking.
For Serving
- powdered sugar powdered sugar Dust before serving for a bakery-style finish.
Instructions
Preparation
- Preheat your oven to 375°F (190°C) and line a baking sheet with parchment paper.
- Open the can of cherry pie filling and set aside.
- If the dough is sticky, chill it in the refrigerator for about 10 minutes.
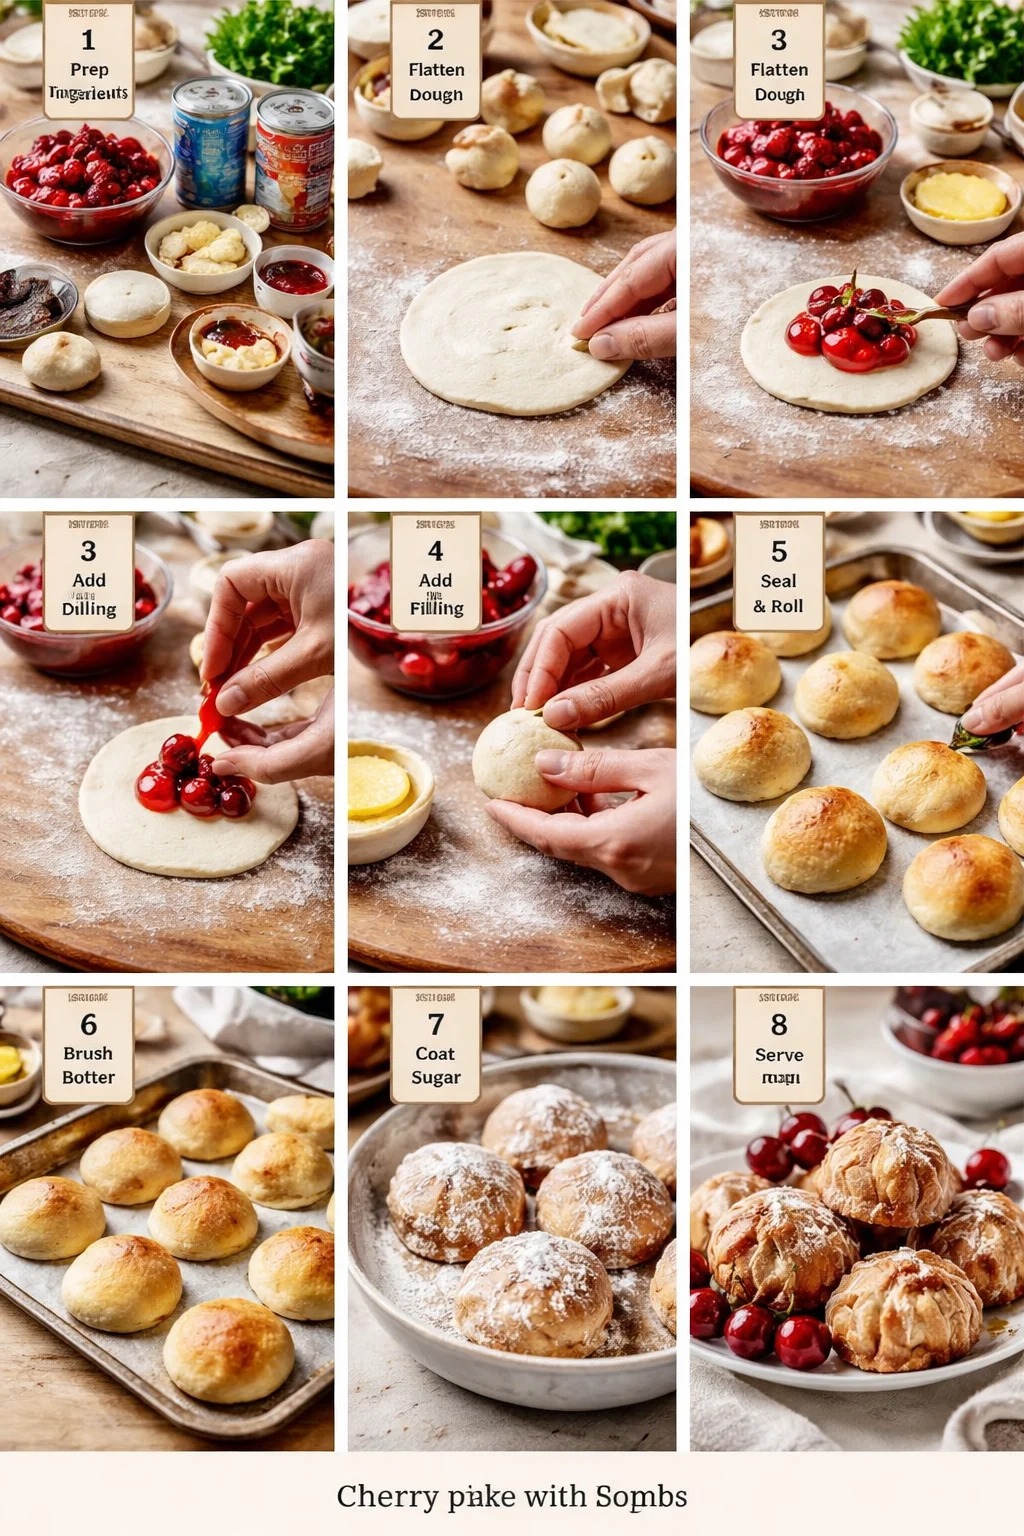
Assembly
- Take a piece of dough and flatten it slightly.
- Spoon a small amount of cherry pie filling into the center of the dough.
- Carefully fold the dough over the filling, pinching the edges firmly to seal.
- Repeat with the remaining dough and filling.
- Place the assembled bombs on the prepared baking sheet.
- Brush the tops with melted butter.
Baking
- Bake in the preheated oven for 12 to 16 minutes, or until they are golden and puffed.
Serving
- Dust with powdered sugar before serving if desired.
- Serve warm with vanilla ice cream or whipped cream.