
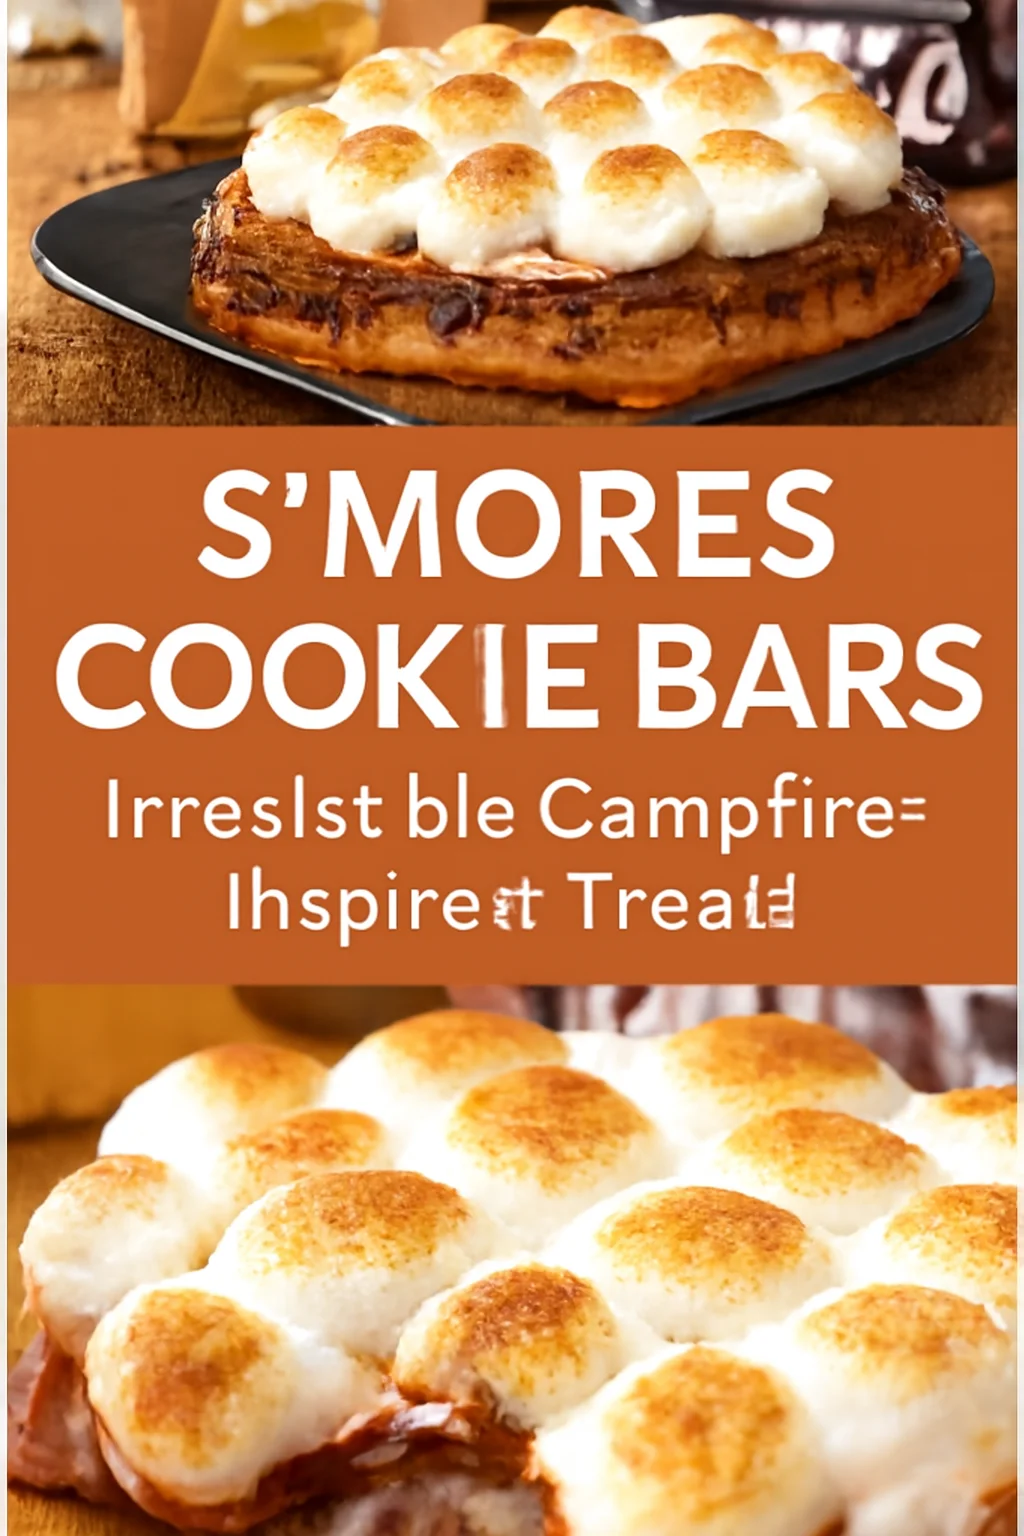
S’MORES BARS! are my answer to that familiar moment when you want the cozy campfire vibe but you do not want to smell like smoke or wrestle with a pile of sticky marshmallows. Maybe you have people coming over, maybe it is movie night, or maybe you just need a sweet little reset after a long day. This is the dessert I make when I want something fun and nostalgic without turning my kitchen into a disaster zone. You get the buttery graham cracker base, the melty chocolate, and that toasted marshmallow top, all in neat squares. Basically, it is the classic treat, but way easier to share.

Smores Bars Recipe
Let me walk you through my go to version. I have made these for potlucks, birthdays, and random Tuesdays, and the pan is always the first thing that gets hovered over. The best part is you do not need fancy tools, and you do not need to be a baking pro. If you can stir and press crumbs into a pan, you are golden.
I sometimes pair these with other easy handheld desserts. If you are building a party spread, you might also like something chilled and simple like my no bake dessert ideas (great when you need options that do not require extra oven time).
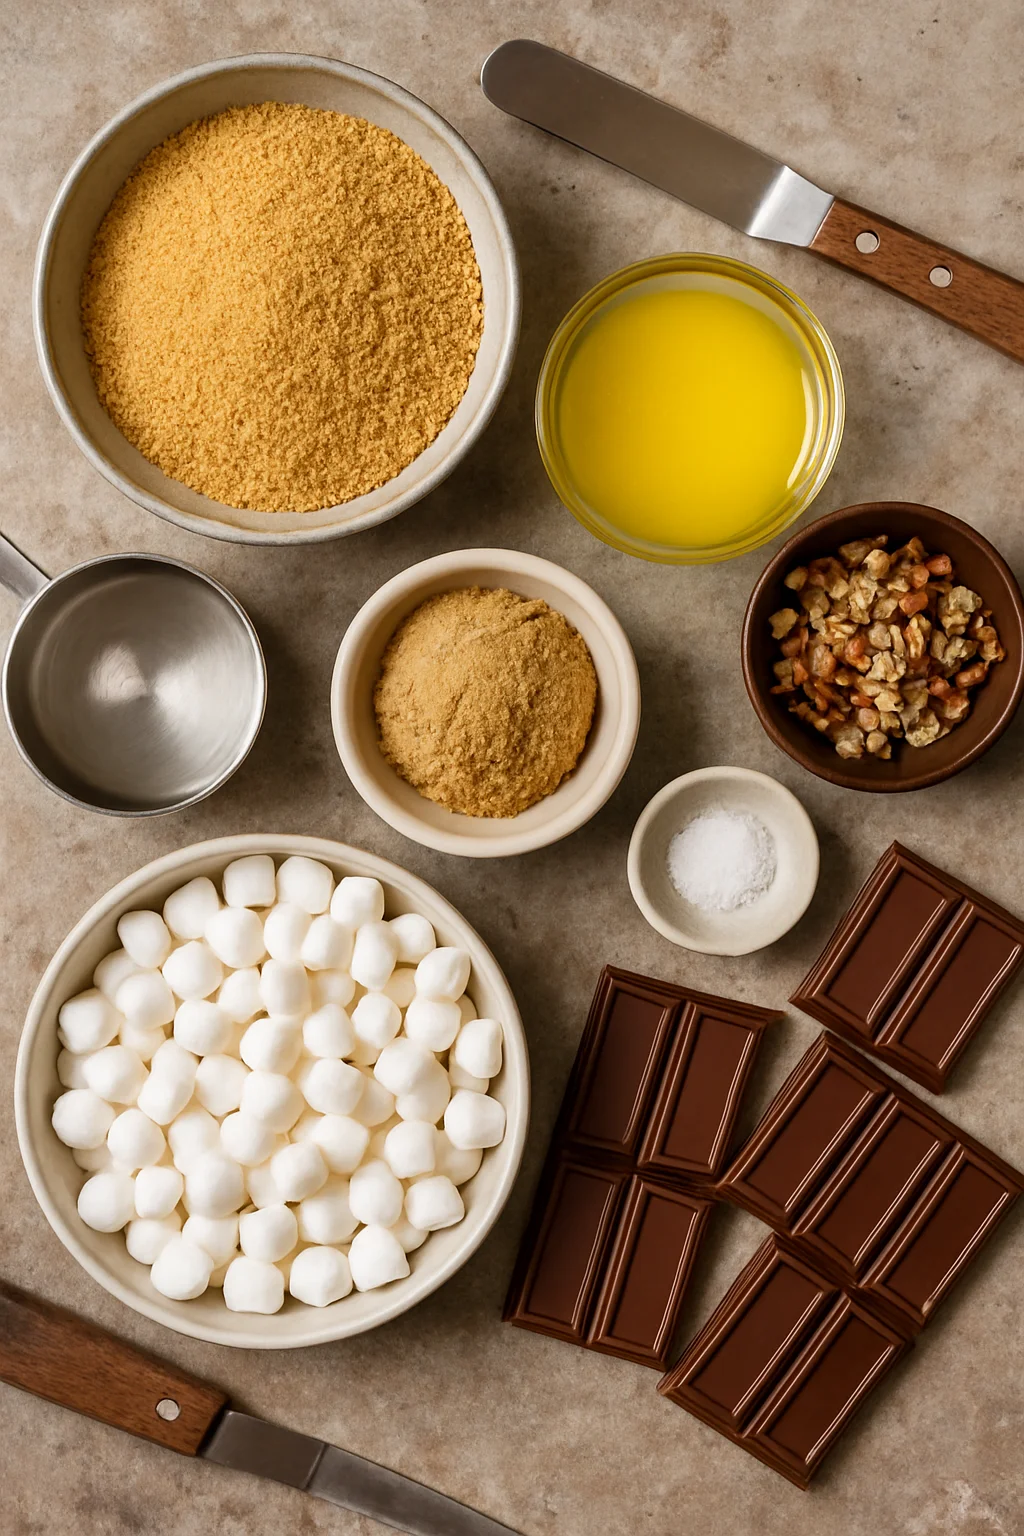
What you will need
- Graham cracker crumbs, about 2 cups (from roughly 14 full crackers)
- Melted butter, 1 stick (1/2 cup)
- Brown sugar, 1/4 cup
- Pinch of salt
- Chocolate, about 1 1/2 to 2 cups (bars or chips both work)
- Marshmallows, 3 to 4 cups (mini marshmallows are easiest)
- Optional: a spoonful of vanilla in the crust, or a handful of chopped nuts
Pan size: I use a 9×13 baking dish for thinner bars that slice nicely. If you use an 8×8, they will be thicker and extra gooey in the middle, which is not a bad thing.
Quick crust tip: If your crumbs are not fine enough, the base can crumble when you cut. I like to crush them until they look like sandy beach crumbs, then mix with melted butter, brown sugar, and salt until everything feels evenly damp.
Why Youll Love This Recipe
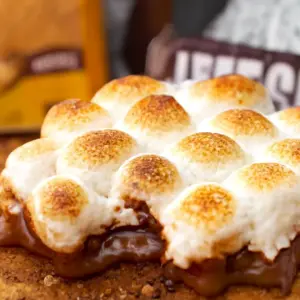
I am not saying these solve all problems, but they do fix a bad day pretty fast. The texture is what really gets me. The bottom is buttery and a little crisp, the chocolate layer goes soft and melty, and the marshmallows on top get that golden toast that tastes like childhood.
Here is why I keep coming back to this pan of goodness:
They are easy to portion. No sticky fingers around a fire, just clean little squares.
They travel well. I have taken them to picnics and school events without stress.
They satisfy the craving. If you love the campfire flavor but want a simple kitchen recipe, this is it.
“I made these for a family night and my kids said they taste better than actual s’mores because the chocolate is in every bite. I had to hide two pieces for myself.”
Also, if you are the type who likes to plan a whole snack table, I have a list of easy party treats that pair perfectly with these bars, especially if you want a mix of crunchy and creamy desserts.
How To Make Smores Bars
This is the part where you realize how low effort this whole thing is. The only thing you need to watch closely is the top, because marshmallows can go from golden to too dark pretty quickly.
Step by step directions
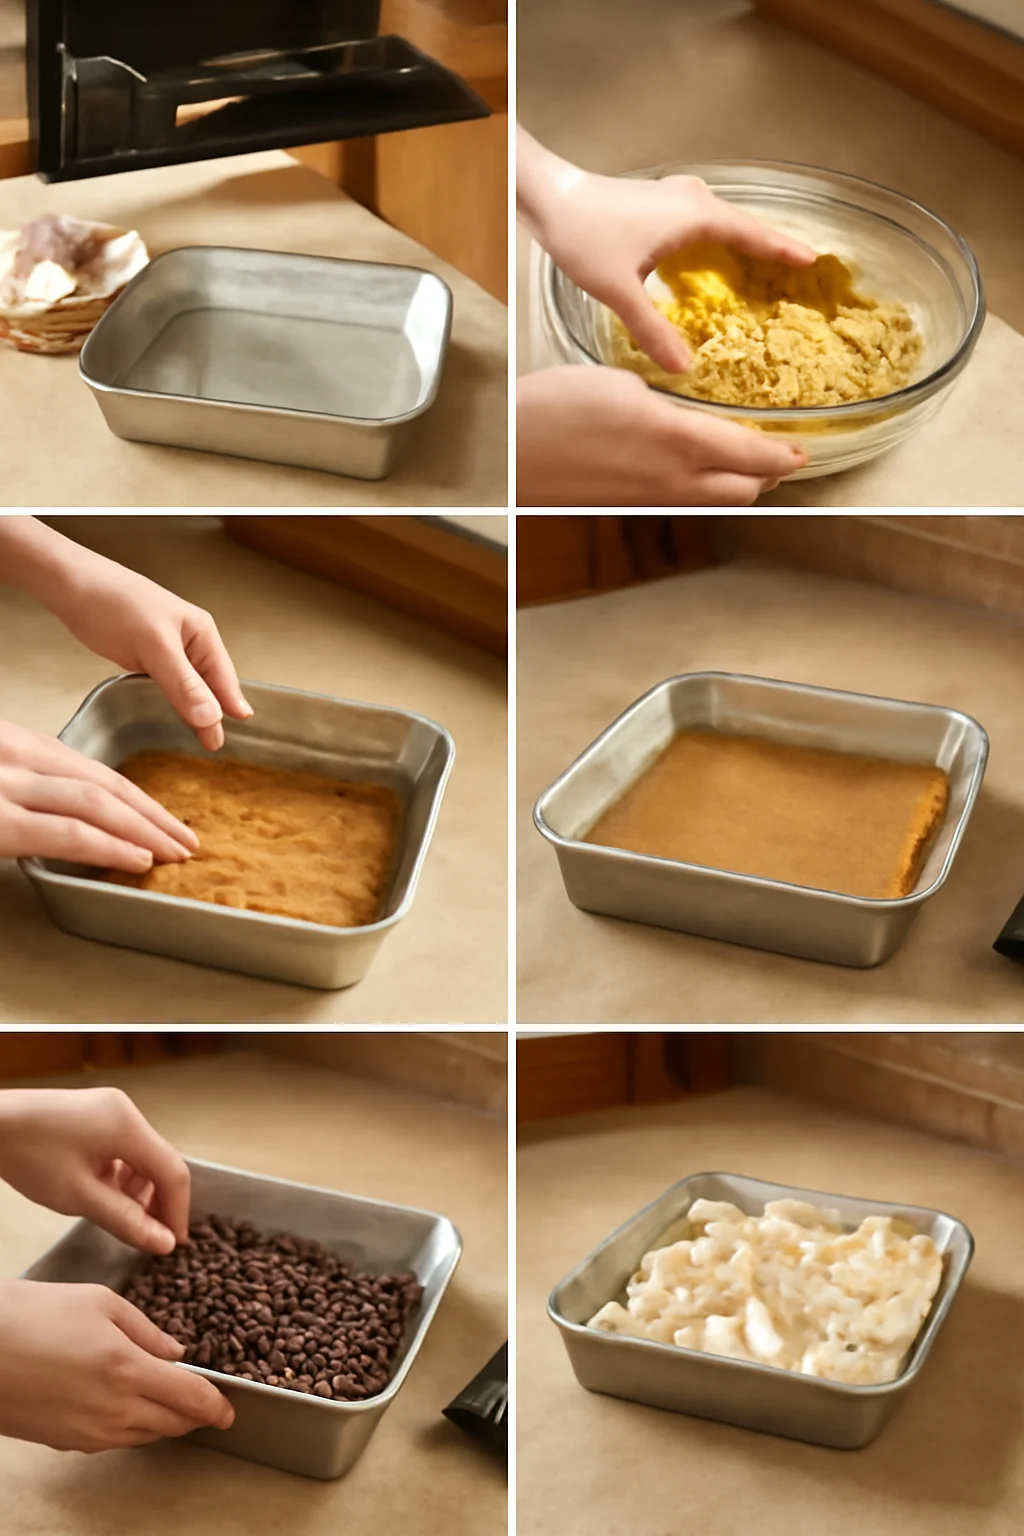
- Preheat your oven to 350 F. Lightly grease your pan or line it with parchment paper if you want easy lifting.
- Make the crust: Mix graham cracker crumbs, melted butter, brown sugar, and a pinch of salt. Press it firmly into the pan. I use the bottom of a measuring cup to pack it down tight.
- Bake the crust for 8 to 10 minutes. This helps it hold together and keeps it from turning soggy later.
- Add chocolate: Sprinkle chocolate chips or lay down chocolate bar pieces while the crust is still warm. Let it sit 2 minutes, then gently spread if needed.
- Add marshmallows: Cover the top with marshmallows. I like a full layer so every piece has that fluffy top.
- Bake again for 6 to 10 minutes, just until the marshmallows puff and turn light golden.
- Cool before slicing: This is the hard part. Let them cool at least 30 to 45 minutes so the chocolate sets enough to cut cleanly.
My real life tip: If you want a more toasted top, you can broil for 20 to 40 seconds at the end, but do not walk away. Not even to grab your phone. It happens fast.
If you love baking with chocolate in general, you may also enjoy browsing my chocolate dessert recipes for more easy wins.
And yes, S’MORES BARS! are totally doable even if your chocolate layer looks a little messy. Once you cut them, nobody cares. They just care that it tastes amazing.
Variations To Try
Once you make these once, you will start thinking of all the fun ways to switch them up. I do this a lot depending on what I have in the pantry.
Peanut butter swirl: Warm a few spoonfuls of peanut butter and drizzle it over the chocolate before adding marshmallows.
Cookies and cream: Use crushed chocolate sandwich cookies mixed into the graham crust, then use white chocolate chips for the filling.
Dark chocolate and sea salt: Use dark chocolate and sprinkle a tiny pinch of flaky salt on top right after baking. It makes the sweetness pop.
Holiday vibe: Add a handful of crushed peppermint candies over the chocolate for a winter twist.
If you want a more “cookie bar” vibe instead of graham crust, I have a soft bar base method in my cookie bar recipes that you can use as a starting point.
One more note: if you are using big marshmallows, cut them in half. They toast prettier and do not slide around as much.
Storage Information
These bars rarely last long, but if you do end up with leftovers, here is what works in my kitchen.
Room temperature: Store in an airtight container for up to 2 days. Keep them in a cool spot so the chocolate does not get overly soft.
Fridge: Up to 5 days. The bars will firm up, so let them sit out 10 to 15 minutes before eating if you want that softer bite.
Freezer: Yes, you can freeze them. Wrap each square in parchment, then place in a freezer bag. They keep well for about 2 months. Thaw in the fridge or on the counter.
Slicing tip: For the cleanest cuts, use a sharp knife and wipe it between slices. If the marshmallow top is pulling, a slightly warm knife helps.
Common Questions
Do I have to use mini marshmallows?
Nope. Minis are just easier to spread evenly. If you only have large marshmallows, cut them in half and pack them close together.
Why did my crust fall apart?
Usually it needs to be pressed more firmly, or the crumbs were too chunky. Also make sure you bake the crust first so it sets up.
Can I use chocolate bars instead of chips?
Absolutely. Bars melt into a smoother layer. I like milk chocolate for the classic taste, but dark chocolate is great if you want less sweetness.
How do I get that toasted top without burning it?
Bake until light golden, then stop. If you broil, do it for seconds, not minutes, and stay right there watching.
Can I make these ahead of time for a party?
Yes. I actually think S’MORES BARS! are perfect made the night before. They set up nicely and slice better the next day.
A sweet little send off
If you have been craving something cozy and fun, make a pan of S’MORES BARS! and see how fast they disappear. Keep it classic for your first try, then play with the variations once you know your favorite texture. If you want more inspiration from other bakers, check out S’mores Bars Recipe – Glorious Treats and also S’mores Cookie Bars (Recipe + Video) – Sally’s Baking Addiction for more delicious spins on the idea. Let me know how you top yours, because I am always looking for the next excuse to make another batch.
S’mores Bars
Ingredients
For the crust
- 2 cups Graham cracker crumbs (from roughly 14 full crackers)
- 1 stick Melted butter (1/2 cup)
- 1/4 cup Brown sugar
- 1 pinch Salt
For the filling
- 1.5 to 2 cups Chocolate (bars or chips)
- 3 to 4 cups Marshmallows (mini marshmallows are easiest)
Optional ingredients
- 1 scoop Vanilla (for the crust)
- 1 handful Chopped nuts (optional)
Instructions
Preparation
- Preheat your oven to 350°F. Lightly grease your pan or line it with parchment paper.
- Make the crust by mixing graham cracker crumbs, melted butter, brown sugar, and a pinch of salt. Press it firmly into the pan.
- Bake the crust for 8 to 10 minutes until set.
Assembly
- Immediately sprinkle chocolate chips or lay down chocolate bar pieces over the warm crust. Let sit for 2 minutes to melt, then gently spread if needed.
- Cover the top with marshmallows, ensuring a full layer.
- Bake again for 6 to 10 minutes until the marshmallows puff and turn light golden.
Cooling
- Let the bars cool for at least 30 to 45 minutes so the chocolate sets enough to cut cleanly.