
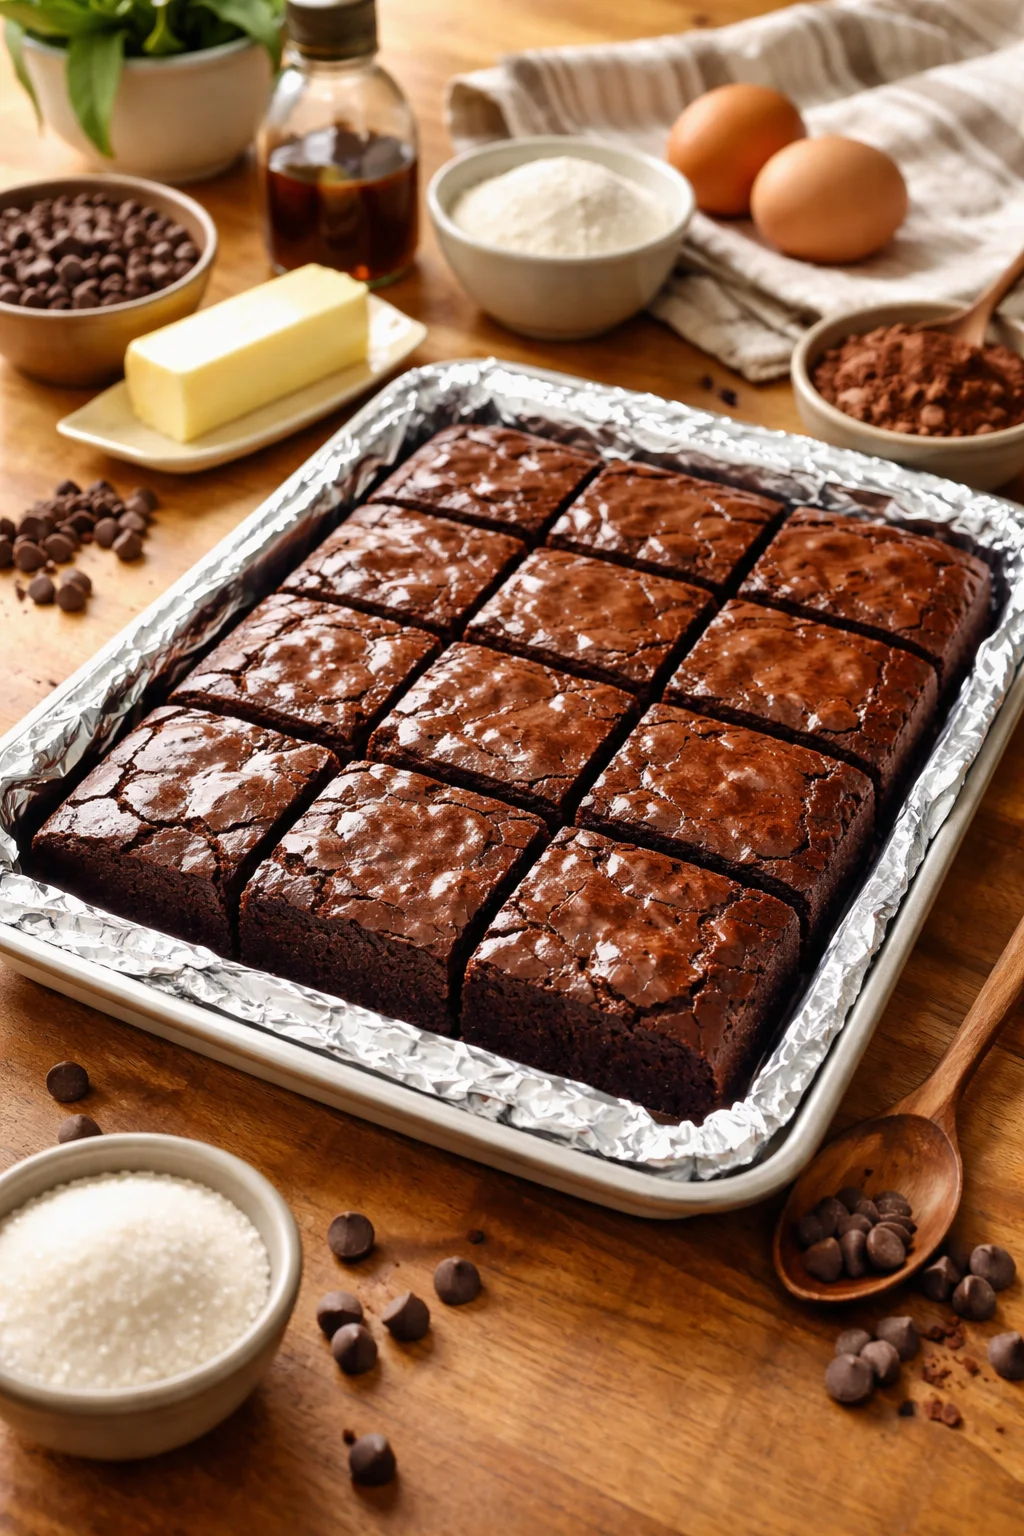
Lunch Lady brownies are the answer for those days when you want a homemade treat but you also want it to feel a little nostalgic, like something you’d grab on a lunch tray and eat way too fast. I’m talking thick, chocolatey bars with that simple glossy frosting that somehow makes everything taste better. If you’ve ever tried to bake brownies and ended up with dry corners or a weird cakey middle, I’ve been there. This recipe keeps things easy and forgiving, even if you’re not a “baker” baker. And yes, they’re the kind of brownies that make people hover near the pan and “just take a little piece” five times.
WHY WE LOVE THIS RECIPE
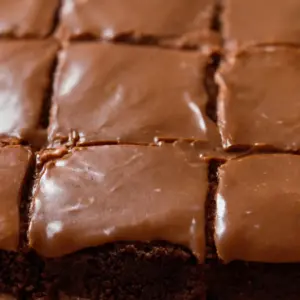
I love this one because it hits that sweet spot between fudgy and soft without being heavy. The texture is the big win: a tender brownie base that stays moist, plus a thin layer of warm frosting that sets up like a dream. These are also great for sharing because you can slice them into neat squares and they still look cute on a plate.
Here’s what makes them a repeat recipe in my kitchen:
- One pan simplicity, no fancy steps, no complicated equipment.
- Quick frosting that goes on while the brownies are warm, so it melts and spreads easily.
- Consistent results even if you’re not measuring like a scientist.
- That classic cafeteria vibe, but better because it’s homemade.
Also, if you love playing around with brownie flavors, you might like my other brownie obsessions too. I’m not saying you need a brownie “collection,” but I’m also not saying you don’t. For a fun twist, check out these Cookies & Cream Red Velvet Brownies when you want something a little extra.
KEY INGREDIENTS
You don’t need anything wild here. This is mostly pantry stuff, which is one reason Lunch Lady brownies are so doable on a random weeknight. I’ll walk you through what matters and why, so you feel confident before you even preheat the oven.
The basics that make the texture work
Butter is the heart of the flavor. I use melted butter because it keeps things rich and helps the brownies bake up soft. Cocoa powder brings the deep chocolate taste without needing a bunch of fancy chocolate bars. And eggs give structure so you can cut clean squares that don’t crumble everywhere.
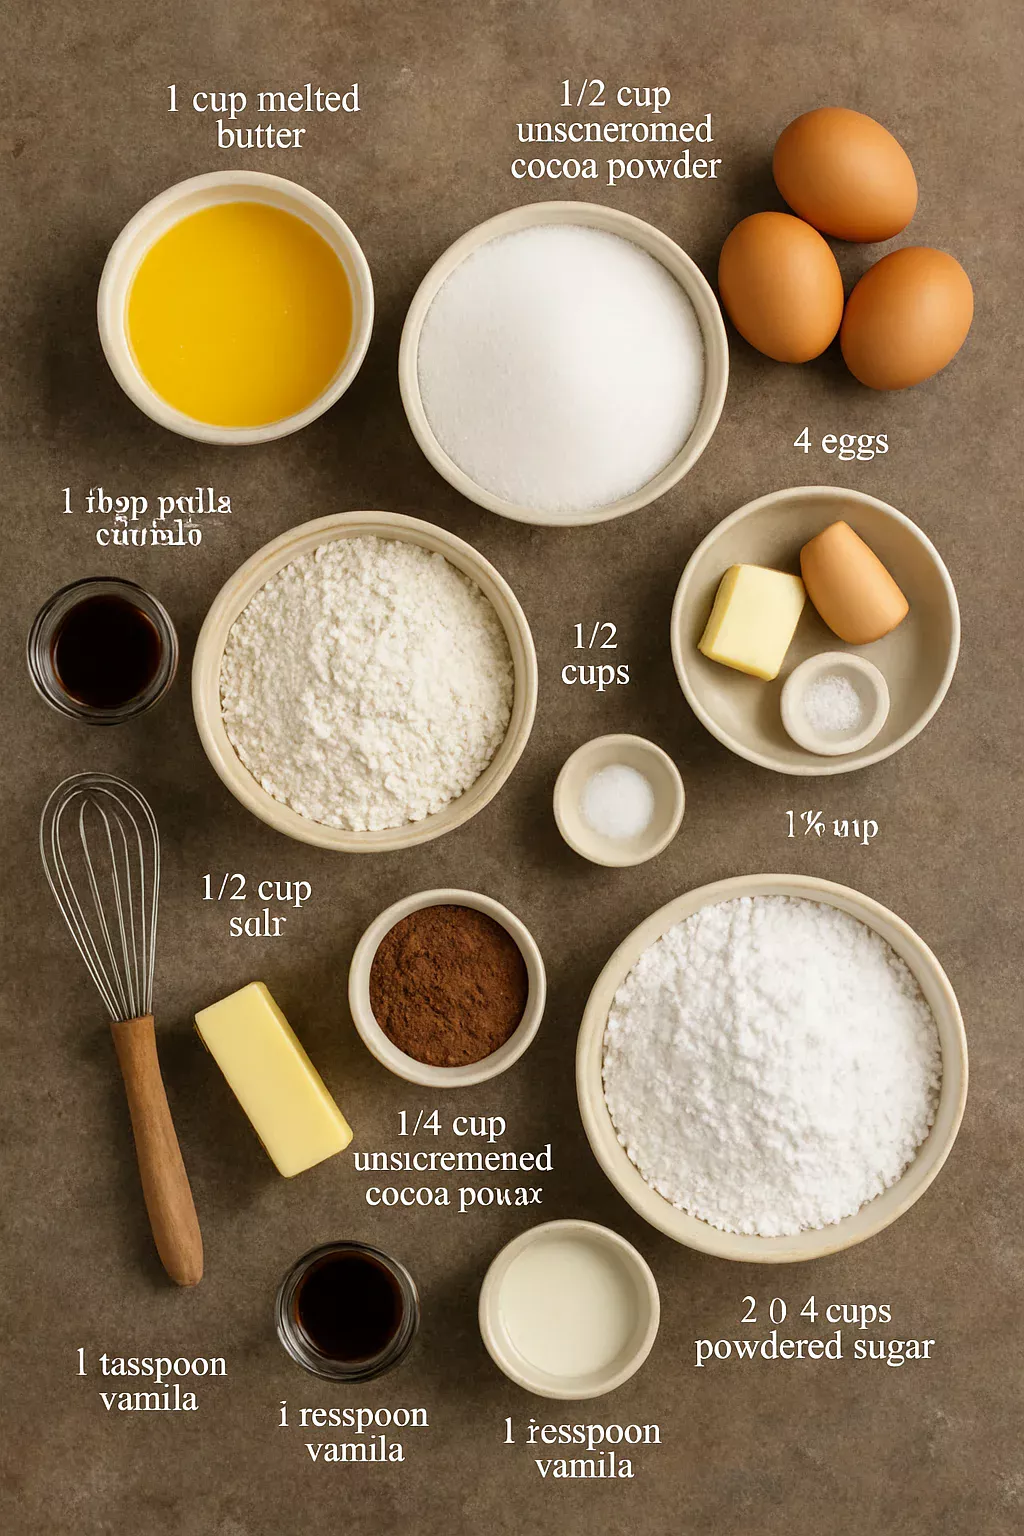
Here’s the ingredient list in plain language (for a 9×13 pan):
- 1 cup melted butter
- 1/2 cup unsweetened cocoa powder
- 2 cups sugar
- 4 eggs
- 1 tablespoon vanilla extract
- 1 1/2 cups all purpose flour
- 1/2 teaspoon salt
For the frosting:
- 1/4 cup butter
- 1/4 cup milk (any kind works)
- 1/4 cup unsweetened cocoa powder
- 3 to 4 cups powdered sugar
- 1 teaspoon vanilla extract
Two quick notes from my own kitchen mess ups: don’t pack your flour into the cup, and don’t skip the salt. The salt is what makes the chocolate taste louder, in a good way.
If you’re into brownies with a slightly different ingredient vibe, I’ve also made these Avocado Coconut Sweet Potato Brownies, and they’re surprisingly satisfying when you want a more wholesome feeling treat.
HOW TO MAKE
This is the part where you realize why people won’t stop talking about Lunch Lady brownies. The method is simple, and the timing is friendly. You’ll bake the brownies, then make the frosting while they’re in the oven or right after. The goal is to spread frosting on a warm pan so it melts just a little and turns into that classic finish.
Step by step brownies (no stress version)
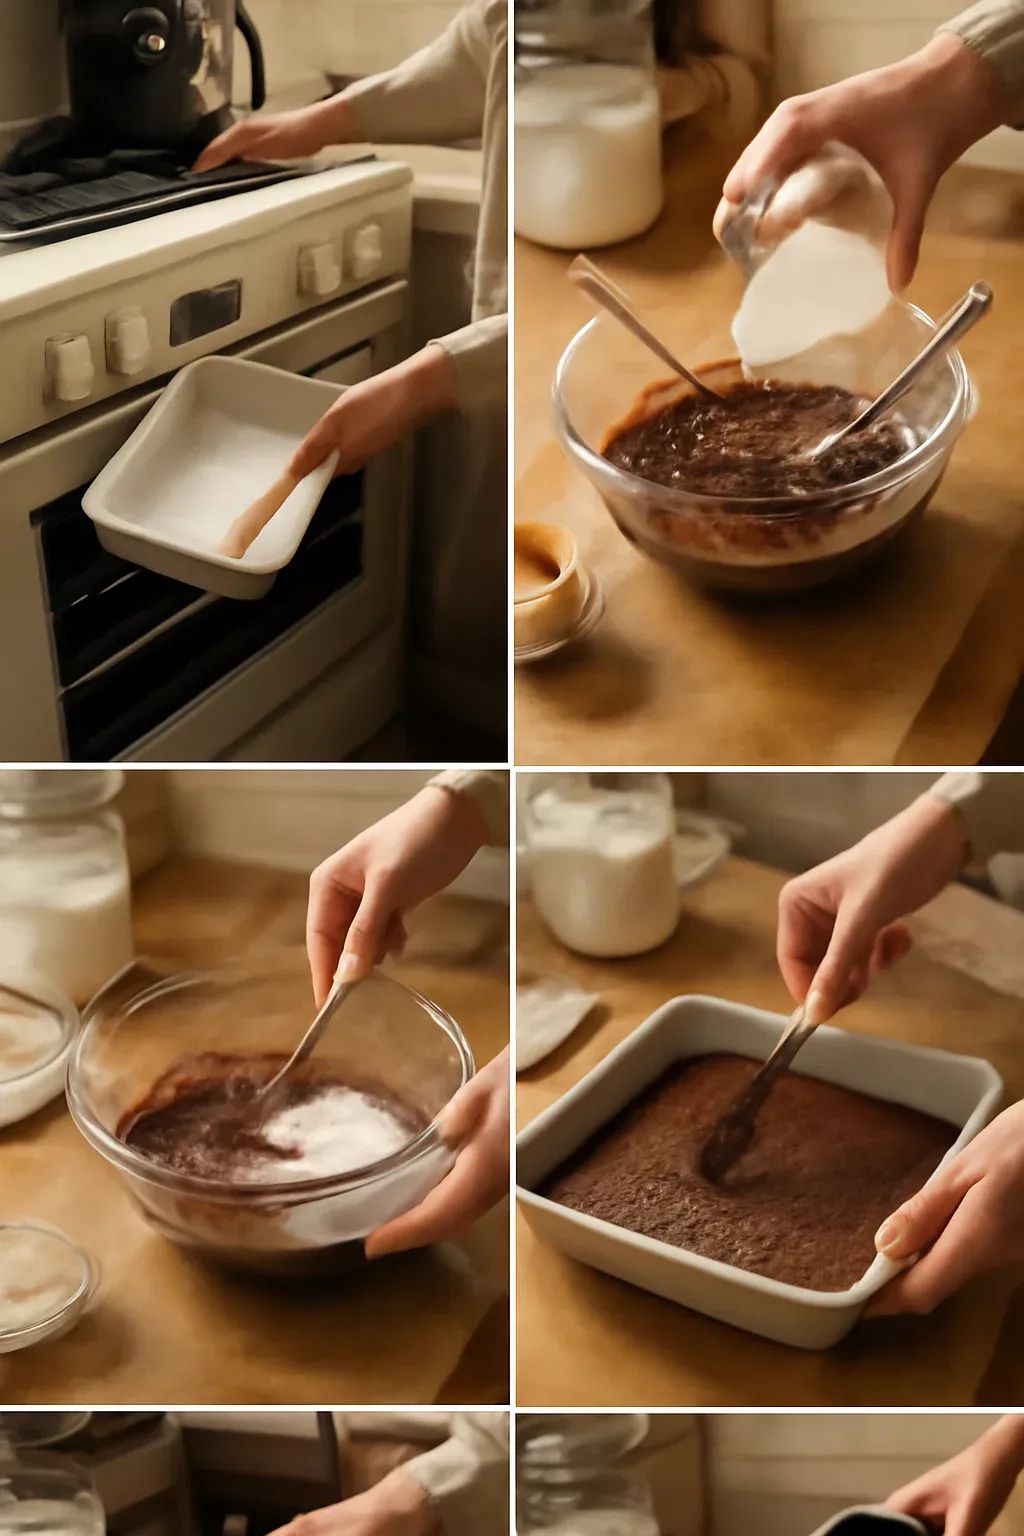
1) Preheat and prep. Heat your oven to 350 F. Grease a 9×13 pan or line it with parchment paper if you want easy lift out. If you line it, leave a bit hanging over the sides so you can grab it later.
2) Mix the wet stuff. In a big bowl, stir together melted butter and cocoa powder until it looks like chocolate sauce. Add sugar and mix. Then add eggs one at a time, stirring after each. Mix in vanilla.
3) Add dry ingredients. Add flour and salt. Stir until you don’t see dry flour anymore. Don’t keep mixing for fun. Overmixing can make brownies tough, and we’re not doing tough brownies here.
4) Bake. Spread batter evenly in the pan. Bake about 22 to 28 minutes. Ovens vary, so start checking around 22. You want a toothpick to come out with a few moist crumbs, not totally clean.
5) Make the frosting. In a saucepan, melt butter. Add milk and cocoa powder, whisking until smooth. Remove from heat and whisk in powdered sugar a little at a time until it’s thick but spreadable. Stir in vanilla.
6) Frost while warm. Pour frosting over the warm brownies and spread quickly. It’ll set as the brownies cool, and that’s when the magic happens.
Little personal thing: I always “test” one corner piece while it’s still slightly warm. It’s not even optional. It’s quality control.
“I made these for my kids’ school bake sale and people kept asking if they were the old school cafeteria brownies. They were gone in ten minutes.”
If you want another easy method with a different tool, these Instant Pot Fudgy Chocolate Brownies are a fun alternative when you don’t want to turn the oven on.
TIP
These are my best real life tips for getting Lunch Lady brownies exactly right, especially if you’ve had brownie heartbreak before.
Little tweaks that make a big difference
Do not overbake. This is the number one issue. If you wait until a toothpick comes out totally clean, you’ll probably end up with drier brownies the next day. Pull them when there are still moist crumbs.
Let them cool before cutting. I know, it’s hard. But if you want clean squares, give them at least 45 minutes. If you want super neat edges, chill them for a bit, then slice.
Frosting thickness is personal. If your frosting feels too thick, add a tiny splash of milk. If it’s too thin, add more powdered sugar. You’re aiming for something that spreads easily but does not run.
Use a plastic knife for cleaner cuts. It sounds silly but it works. Or wipe your knife between slices.
If you need a brownie option for friends who can’t do gluten, I’ve had good luck with these Deliciously Fudgy Gluten Free Brownies. It’s nice having choices so nobody feels left out.
OTHER BROWNIE RECIPES
Once you’ve nailed Lunch Lady brownies, it’s kind of hard not to start experimenting. Brownies are just that type of dessert. They’re low effort, high reward, and people get genuinely excited when they see a pan of them on the counter.
Here are a few directions you can go next depending on your mood:
- More chocolate intensity: add chocolate chips to the batter, or swirl a little chocolate frosting on top.
- Nutty crunch: chopped walnuts or pecans, especially if you like texture.
- Something fruity: a berry swirl or a spoon of jam dabbed on top before baking.
And if you want a unique flavor combo, the idea of peaches in brownies sounds odd until you try it. These Paleo Peach Walnut Brownies are surprisingly good when you want something different.
Common Questions
Can I make these ahead of time?
Yes. They’re actually great the next day. Bake, frost, cool, cover tightly, and leave them at room temp for up to 2 days.
How do I store Lunch Lady brownies?
Keep them in an airtight container. Room temperature is fine for a couple days, or refrigerate for up to 5 days if your kitchen runs warm.
Can I freeze them?
Totally. Slice them, wrap individual pieces, and freeze for up to 2 months. Thaw at room temp and they taste like a treat you forgot you had.
Why did my frosting turn grainy?
Usually it’s from adding powdered sugar too fast or not whisking enough. Add the sugar in batches and whisk until smooth. If it’s already grainy, a tiny splash of warm milk and more whisking can help.
What size pan should I use if I want thicker brownies?
A 9×13 pan gives the classic thickness. If you use a smaller pan, they’ll be thicker but you’ll need a longer bake time and closer checking near the end.
A sweet little throwback worth baking
If you’ve been chasing that school cafeteria vibe, Lunch Lady brownies really do deliver, especially with the warm frosting poured right on top. They’re easy, reliable, and honestly just comforting in a way that fancy desserts sometimes aren’t. If you want to compare versions or see other peoples little tweaks, I’ve enjoyed reading Lunch Lady Brownies – Life In The Lofthouse and Lunch Lady Brownies – The Southern Lady Cooks. Now do yourself a favor and bake a pan, then hide a couple squares for later because they disappear fast.
Lunch Lady Brownies
Ingredients
Brownie Base
- 1 cup melted butter Use melted for richness and softness.
- 1/2 cup unsweetened cocoa powder
- 2 cups sugar
- 4 eggs Add one at a time while mixing.
- 1 tablespoon vanilla extract
- 1 1/2 cups all purpose flour Do not pack into the cup.
- 1/2 teaspoon salt Enhances chocolate flavor.
Frosting
- 1/4 cup butter Melted for mixing.
- 1/4 cup milk Any kind works.
- 1/4 cup unsweetened cocoa powder
- 3 to 4 cups powdered sugar Adjust thickness to preference.
- 1 teaspoon vanilla extract
Instructions
Preparation
- Preheat the oven to 350°F (175°C). Grease a 9×13 pan or line it with parchment paper.
- In a large bowl, stir together melted butter and cocoa powder until smooth. Add sugar and mix. Beat in eggs one at a time, then mix in the vanilla.
- Add flour and salt, mixing just until combined. Do not overmix.
Baking
- Spread the brownie batter evenly in the prepared pan. Bake for 22 to 28 minutes, checking for moist crumbs on a toothpick.
Frosting
- In a saucepan, melt the butter. Add milk and cocoa powder, whisk until smooth. Remove from heat and incorporate powdered sugar until desired thickness is reached. Stir in vanilla.
- Pour the frosting over warm brownies and spread quickly.
Cooling and Serving
- Allow the brownies to cool for at least 45 minutes before cutting into squares for clean edges.