
Old Fashioned Fudge is my go to fix when I need a homemade treat that feels like a warm memory. You know those days when you want something sweet, but you do not want to run to the store or mess with fancy ingredients. This is that recipe, the one that makes the kitchen smell like cocoa and comfort in about an hour. It is also the kind of candy that makes people peek into the pan and ask, “Is that for me?” If you have ever had fudge turn grainy or too soft, do not worry, I have been there and I am sharing what finally made it click for me.
How to make Chocolate Fudge
I learned the hard way that Old Fashioned Fudge is not the same as those quick microwave versions. This one is cooked on the stove, and the texture is worth it. You get that classic bite that is firm but still melts in your mouth.
Before we start, here is the vibe: read everything once, set your stuff out, then cook. Fudge moves fast at the end, and hunting for vanilla while your pot is bubbling is a stressful little moment I do not want for you.
Ingredients and what you will need
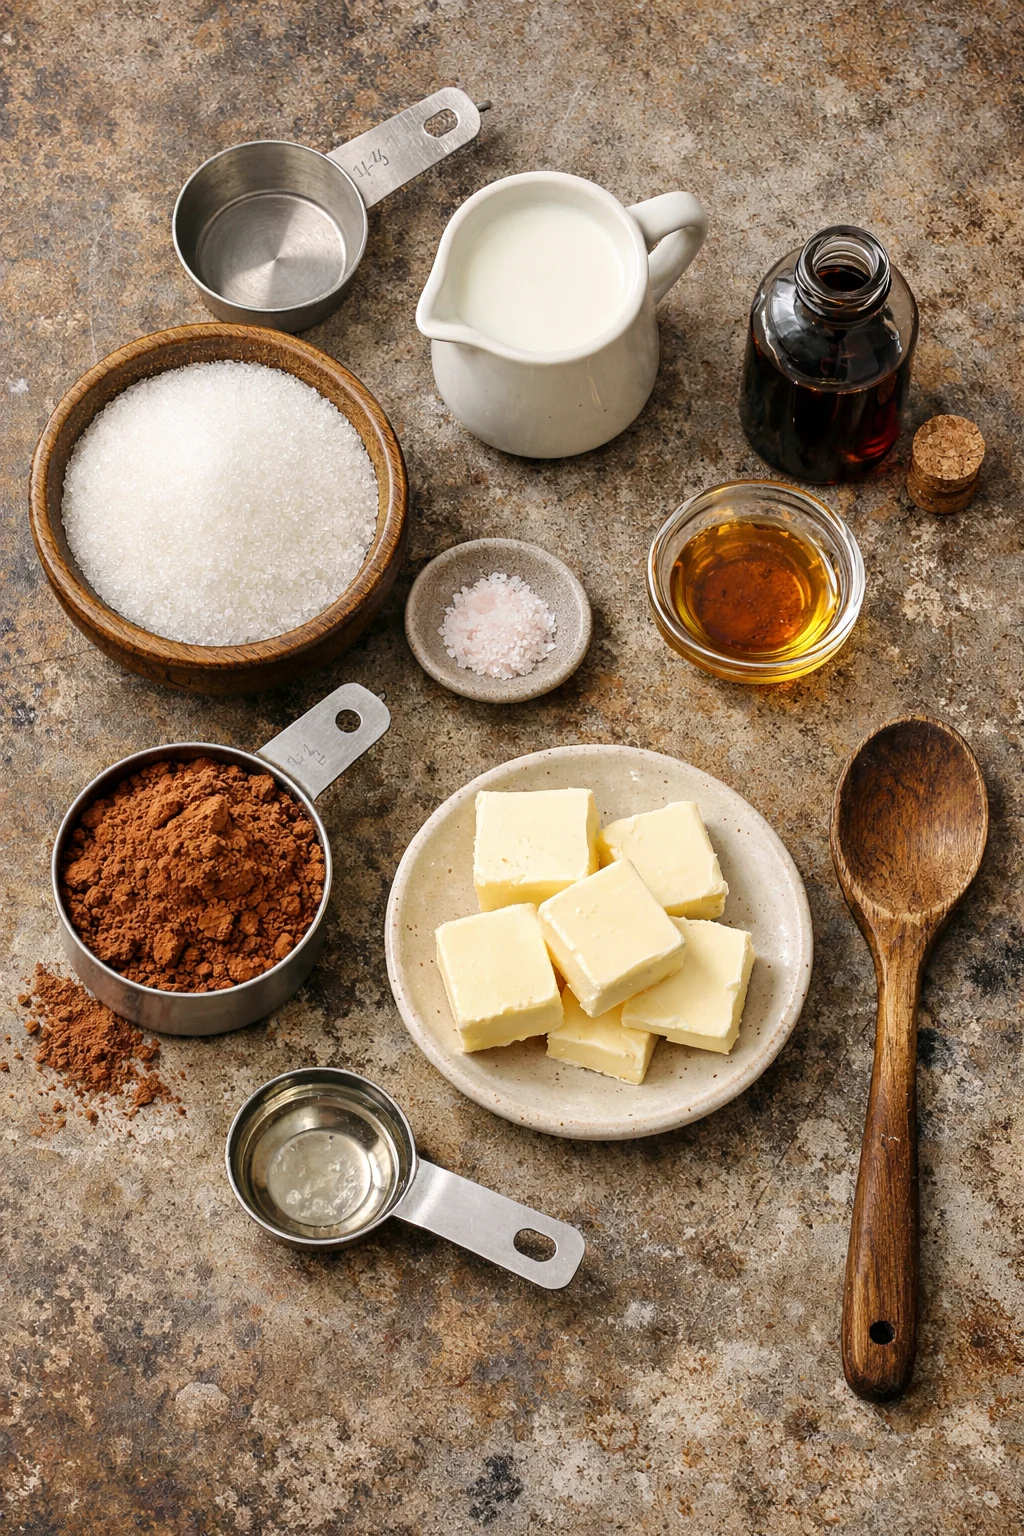
- Granulated sugar
- Unsweetened cocoa powder (Hersheys cocoa is a classic)
- Milk (whole milk is my favorite, but 2 percent works)
- Butter
- Vanilla extract
- Pinch of salt
- Optional: a tiny bit of corn syrup for extra smoothness (not required)
Tools wise, keep it simple: a heavy pot, a wooden spoon, a candy thermometer if you have one, and an 8 by 8 pan lined with parchment. If you need a cozy dessert to serve with your fudge nights, my Old Fashioned Raisin Cake is a total throwback in the best way.
Step by step directions
1) Line your pan. Seriously, do it first. Parchment with a little overhang makes lifting the fudge out so easy.
2) In a heavy pot, mix sugar and cocoa, then stir in milk. Turn the heat to medium and stir until everything looks smooth and the sugar is dissolved.
3) Add butter and a pinch of salt. Keep stirring gently until it reaches a steady boil.
4) Once it is boiling, stop stirring. This part is important. Stirring while it boils can lead to sugar crystals and grainy fudge.
5) Cook until it reaches the soft ball stage, about 234 to 240 F. If you do not have a thermometer, drop a tiny bit into cold water. If it forms a soft ball that holds shape but squishes, you are there.
6) Remove from heat and let it sit without touching it for about 5 to 10 minutes. This cool down helps the texture.
7) Add vanilla. Then beat it with a spoon until it thickens and starts to lose its glossy shine. You will feel it change, almost like it is suddenly getting heavier.
8) Pour into your prepared pan and smooth the top quickly. Let it set at room temp.
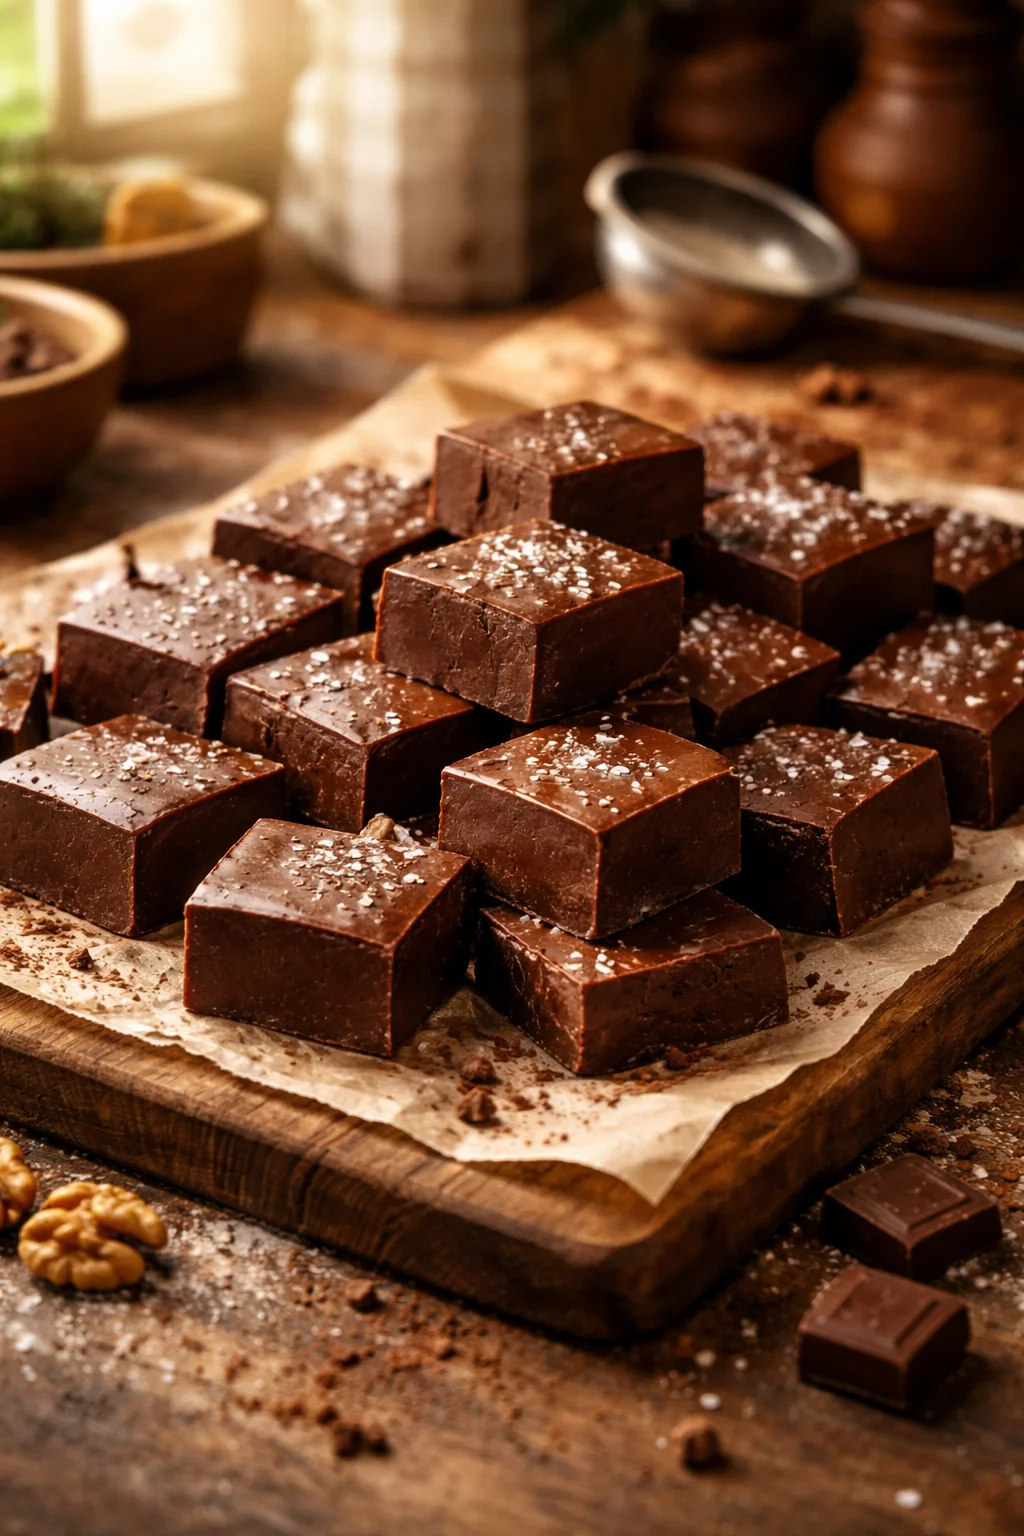
My favorite part is cutting the first square. The smell is deep chocolate, and the top gets that tiny sheen that looks so classic. This is the moment when Old Fashioned Fudge feels like it belongs on a holiday tray, even if it is just a random Tuesday.
“I followed your timing tips and finally got smooth fudge instead of gritty candy. The soft ball test explanation saved me.”
Adjusting the Fudge Recipe for High Altitude
If you live at a higher elevation, candy can be a little dramatic. Water boils at a lower temperature, so your fudge can overcook fast and end up crumbly, or it can set too firm. The good news is that you can still make Old Fashioned Fudge that turns out right, you just need a small adjustment.
Here is the simple rule most home cooks use: lower your target temperature by about 2 degrees F for every 1,000 feet above sea level. So if you are at 5,000 feet, you might aim closer to 224 to 230 F instead of 234 to 240 F. If you are unsure, start a little lower because you can always cook a bit longer next time.
A few extra high altitude tips that help:
Use a thermometer if you can. It takes the guesswork out.
Watch the boil. At altitude it can look extra wild, so keep the heat steady instead of cranking it up.
Do not skip the rest time after boiling. That short cool down makes a difference in how smooth it beats up.
If you are planning a full comfort food weekend, I love making a big pot of something warm while the fudge sets, like this slow cooker golden chickpea soup. Sweet and cozy plus savory and cozy is my kind of balance.

How to Store Homemade Chocolate Fudge
Once your fudge sets, storage is easy, but a few small choices keep it tasting fresh and not dried out. I cut mine into squares and layer them with parchment so they do not stick together.
;
Here is what works best in my kitchen:
Room temperature: Store in an airtight container for about 1 to 2 weeks. Keep it away from heat or sunny windows.
Fridge: You can refrigerate it, but it can get a little firmer. Let it sit on the counter 15 minutes before serving for the best texture.
Freezer: Freeze for up to 2 to 3 months. Wrap tightly in plastic wrap, then place in a freezer bag. Thaw overnight in the fridge or a few hours on the counter.
One more thing, fudge loves to pick up fridge smells. So if your fridge has strong onion or garlic vibes happening, double wrap it. Speaking of strong flavors, if you need a main dish for a gathering where you are serving sweets after, this Instant Pot golden honey pineapple ham is a total crowd pleaser and it makes the kitchen smell amazing.
Can I add Nuts or Peanut Butter
Yes, and this is where you can make the batch feel like yours. Old Fashioned Fudge is great plain, but mix ins are fun, especially if you are gifting it.
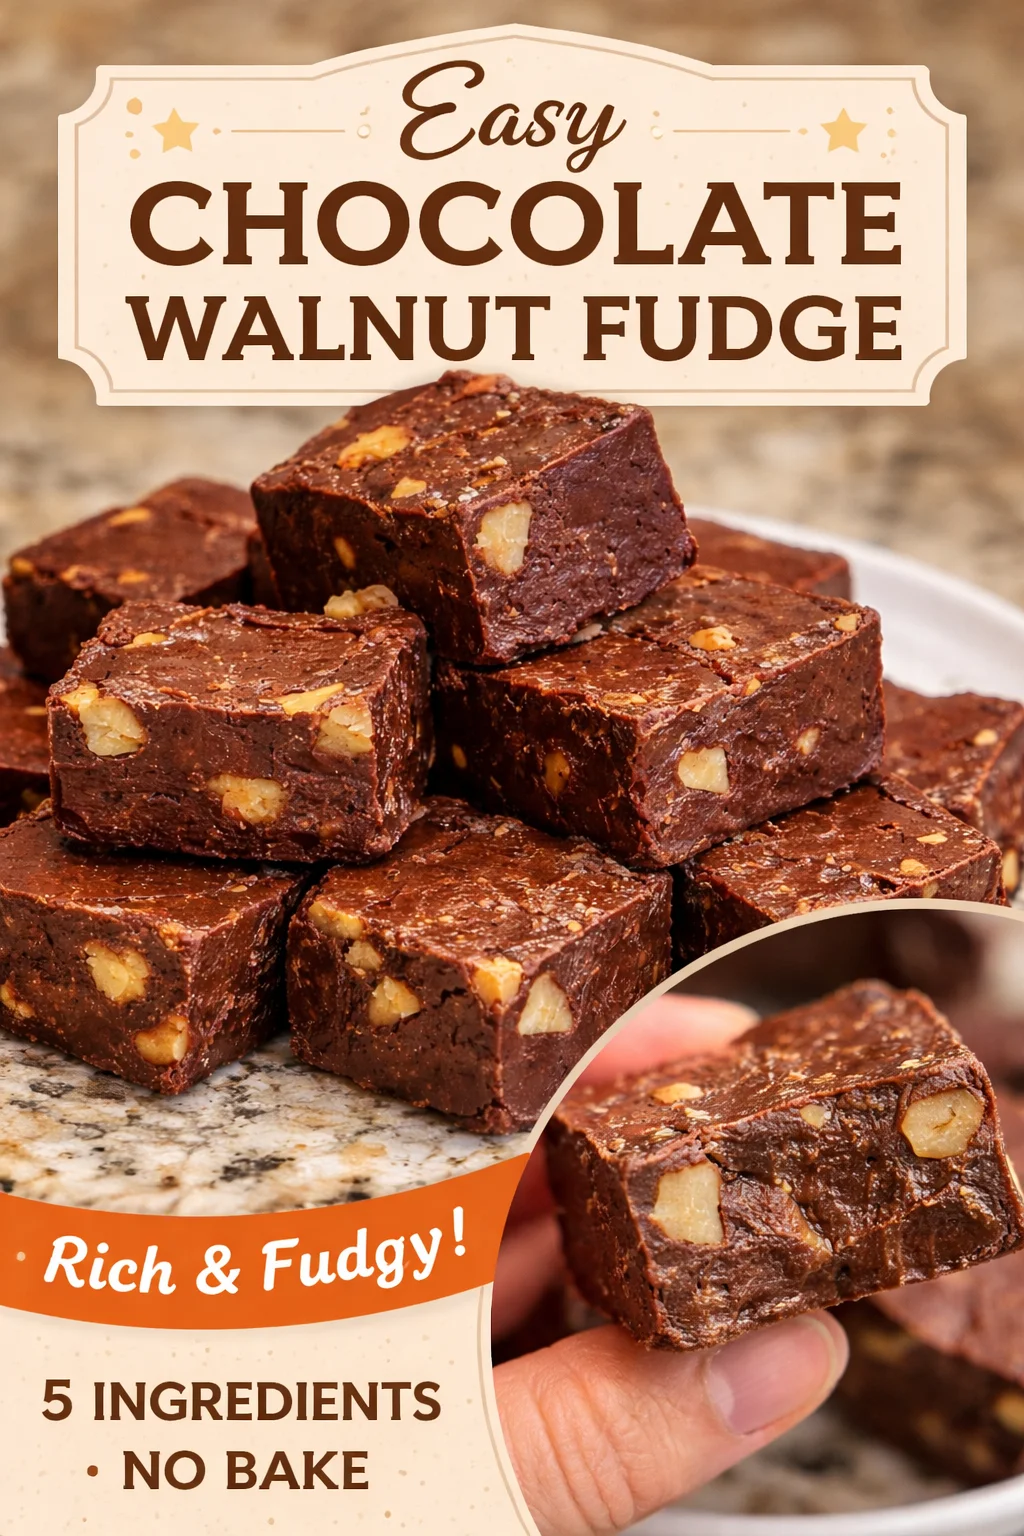
If you want nuts, walnuts and pecans are the classic picks. Add about 1 cup, chopped. Stir them in right after the vanilla, right before you start beating hard. That way they spread out nicely without sinking.
If you want peanut butter, you have two easy options:
Option 1: Replace part of the butter with peanut butter. I like swapping in about 1/4 cup peanut butter and reducing butter slightly. It gives a gentle peanut taste without messing up the set.
Option 2: Swirl it. Warm a few spoonfuls of peanut butter and swirl it on top right after you pour the fudge into the pan. Do not overdo it or you will muddy the chocolate look.
A small heads up: too many add ins can make fudge crumble when you cut it. Keep it reasonable and you will still get clean squares.
And yes, this is still Old Fashioned Fudge even when you dress it up a bit. It is like wearing your favorite jeans with a nicer top. Same comfort, slightly fancy.
Pro tips for making Hersheys Old Fashioned Cocoa Fudge
If you are using Hersheys cocoa, you are in good company. That classic cocoa flavor is what many of us grew up tasting in homemade chocolate desserts. Here are the tips that made the biggest difference for me, especially when I wanted that smooth, sliceable result.
1) Use a heavy pot. Thin pots create hot spots and can scorch the cocoa and sugar. A heavy bottom pot keeps the heat steady.
2) Dissolve the sugar before it boils. Stir at the beginning until everything looks blended and the sugar feels dissolved, then stop stirring once it boils.
3) Do not rush the temperature. Medium heat is your friend. High heat can push you past the soft ball stage before you know it.
4) Let it rest after boiling. I know it is tempting to beat it right away, but that little rest helps prevent graininess.
5) Beat until it changes. This is the part that feels like magic. It goes from glossy to thicker, lighter, and more matte. Once it starts holding shape, get it into the pan quickly.
If you are making this for holidays, I recommend doing one test batch early in the season. Candy making is one of those things where your stove and pot matter, and a practice run builds confidence fast.
Common Questions
Why did my fudge turn grainy?
Usually it is from stirring while it is boiling, sugar crystals on the side of the pot, or beating it too early. Try wiping down the sides with a damp brush and follow the rest time before beating.
Why is my fudge too soft?
It likely did not reach the soft ball stage. Next time cook a little longer or use a thermometer and aim for the right temperature for your altitude.
Can I double the recipe?
You can, but it takes longer to heat evenly and can be harder to time. If you are new to this, I would do two separate batches.
Do I need a candy thermometer?
It helps a lot, but you can use the cold water test. If you make Old Fashioned Fudge more than once a year, a thermometer is worth it.
How long should I wait before cutting it?
At least 2 to 3 hours at room temperature, sometimes longer if your kitchen is warm. If you cut too soon, the edges can smear.
A sweet little wrap up before you start
Old Fashioned Fudge is one of those simple recipes that feels special every single time, as long as you watch the temperature and timing. Once you get the soft ball stage and that final beating step down, you will feel like you unlocked a classic kitchen skill. If you want to compare methods, these are two solid references I have bookmarked: Old Fashioned Chocolate Fudge Recipe – An Italian in my Kitchen and Old Fashioned Chocolate Fudge Recipe – Food.com. Make a batch, cut a few neat squares, and stash the rest for later because you will be glad it is there. Let me know if you go classic, nutty, or peanut buttery because I love hearing how people make it their own.
Old Fashioned Fudge
Ingredients
Main Ingredients
- 2 cups Granulated sugar
- 1/2 cup Unsweetened cocoa powder Hershey’s cocoa is a classic choice
- 1 cup Milk Whole milk is preferred, but 2 percent works
- 1/2 cup Butter
- 1 teaspoon Vanilla extract
- 1 pinch Salt
- 1 tablespoon Corn syrup Optional for extra smoothness
Instructions
Preparation
- Line your 8×8 inch pan with parchment paper, leaving some overhang for easy removal.
- In a heavy pot, mix together the granulated sugar and cocoa powder. Stir in the milk until smooth and the sugar is dissolved.
- Add the butter and a pinch of salt. Stir gently until the mixture reaches a steady boil.
- Stop stirring once it is boiling to avoid forming sugar crystals.
- Cook until the mixture reaches the soft ball stage (234°F to 240°F). If you don’t have a thermometer, drop a small amount into cold water to check if it forms a soft ball.
- Remove from heat and let it sit without stirring for 5 to 10 minutes to cool.
- Add vanilla extract and beat the mixture with a spoon until it thickens and loses its glossy shine.
- Immediately pour the fudge into your prepared pan and smooth the top.
- Let it set at room temperature for at least 2-3 hours before cutting.