
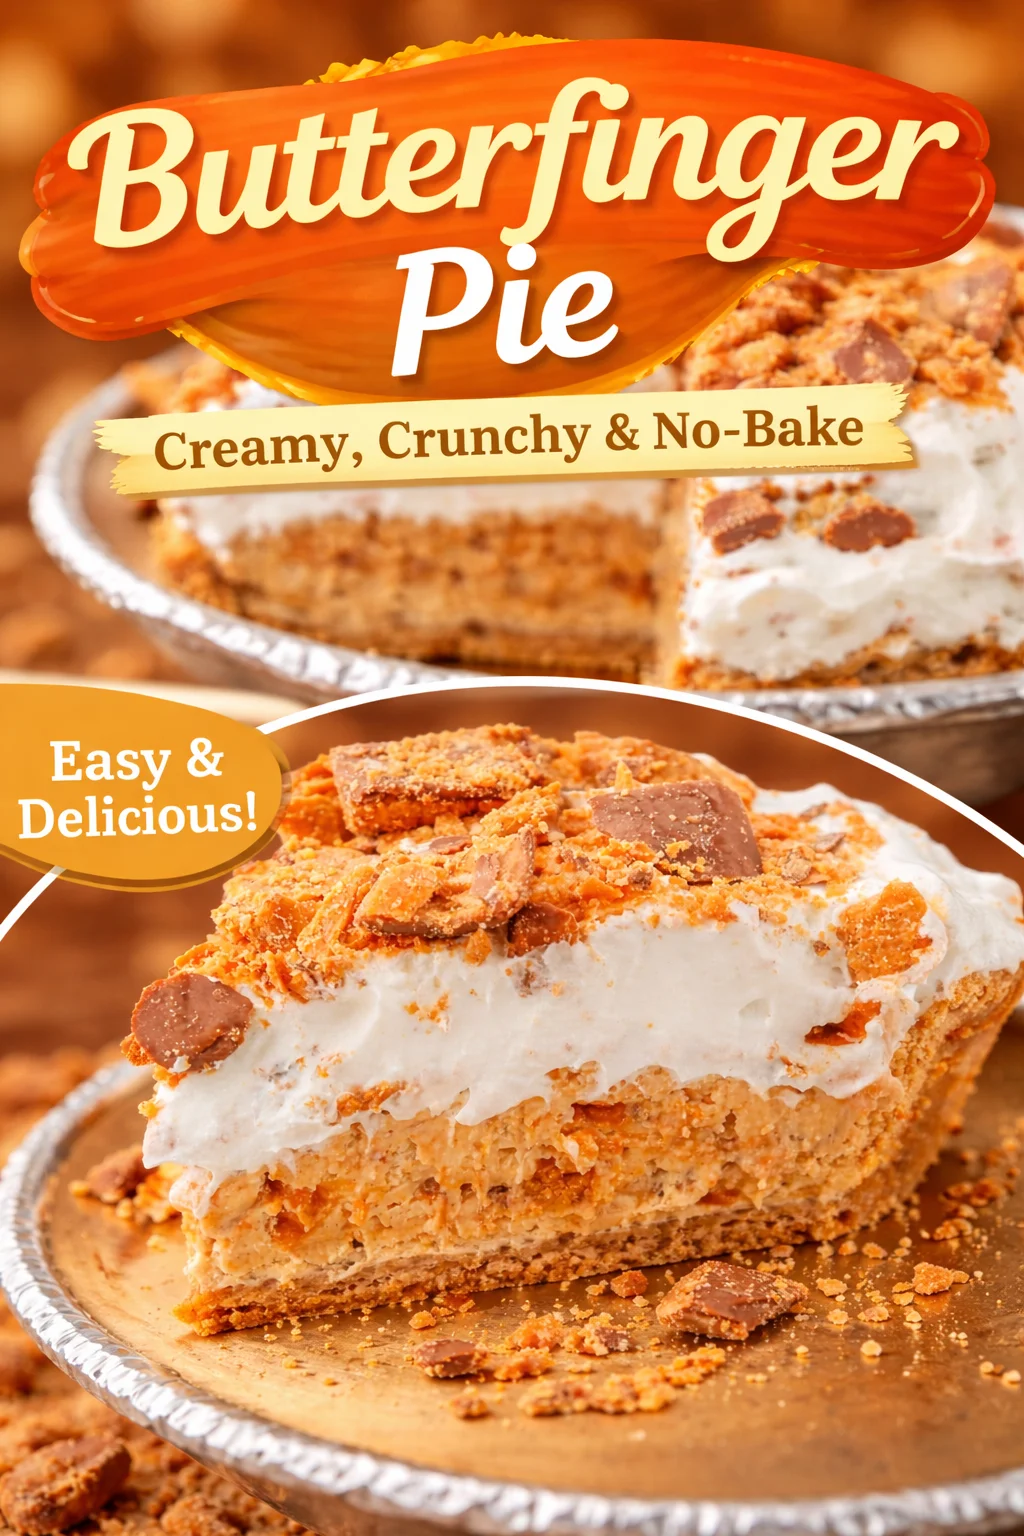
BUTTERFINGER PIE is my go to dessert when I need something fun, sweet, and basically guaranteed to make people happy. You know those days when you want to bring a treat somewhere, but you do not want to bake for hours or worry about fancy decorating? This is that recipe. It tastes like a candy bar had a creamy, fluffy makeover. And the best part is that it looks impressive even if you are not feeling impressive.
Type Of Peanut Butter To Use
Picking the right peanut butter matters more than you would think, because it changes the texture of the filling. For BUTTERFINGER PIE, you want it creamy, smooth, and easy to mix so your pie does not end up stiff or greasy.
Here is what I usually reach for:
- Regular creamy peanut butter: This is the safest choice. Think classic store brands like Jif or Skippy style. It blends smoothly and keeps the filling fluffy.
- Natural peanut butter: You can use it, but stir it really well first. If it is super oily or separated, it can make the filling a little loose and uneven.
- Crunchy peanut butter: Tasty, but it fights with the Butterfinger crunch. If you love extra texture, go for it. I usually do not.
One more little tip from my own trial and error: if your peanut butter is cold and thick, let it sit out for 10 to 15 minutes. Mixing is easier and you are less likely to overbeat the filling.
If you are a pie person like me, you might also like this cozy, creamy one for another day: Nannys Peanut Butter Cream Pie. It is a different vibe, but still totally comforting. 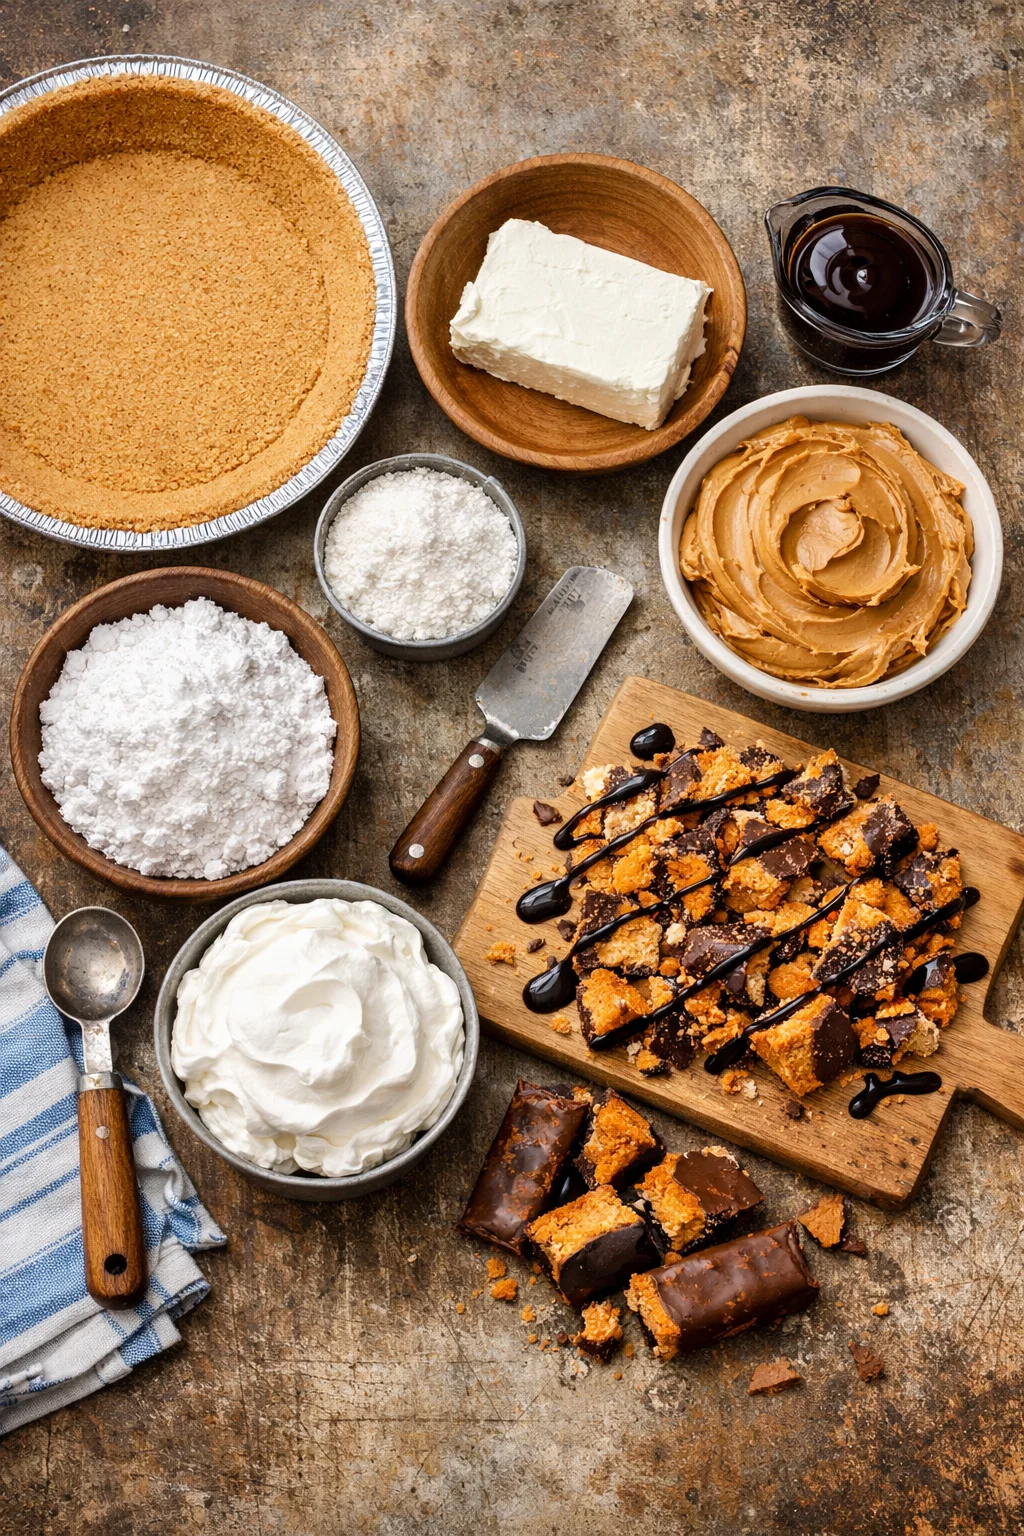
How To Make Butterfinger Pie
This is the part where you realize you are about to get a lot of joy for not that much work. I have made BUTTERFINGER PIE for birthdays, potlucks, and random weekends when I just wanted something cold and sweet in the fridge.
Ingredients you will need
I keep the ingredient list simple and flexible. Here is what I use most of the time:
- 1 graham cracker crust, store bought or homemade
- 8 oz cream cheese, softened
- 1 cup creamy peanut butter
- 1 cup powdered sugar
- 8 oz whipped topping, thawed (or whipped cream, see tips below)
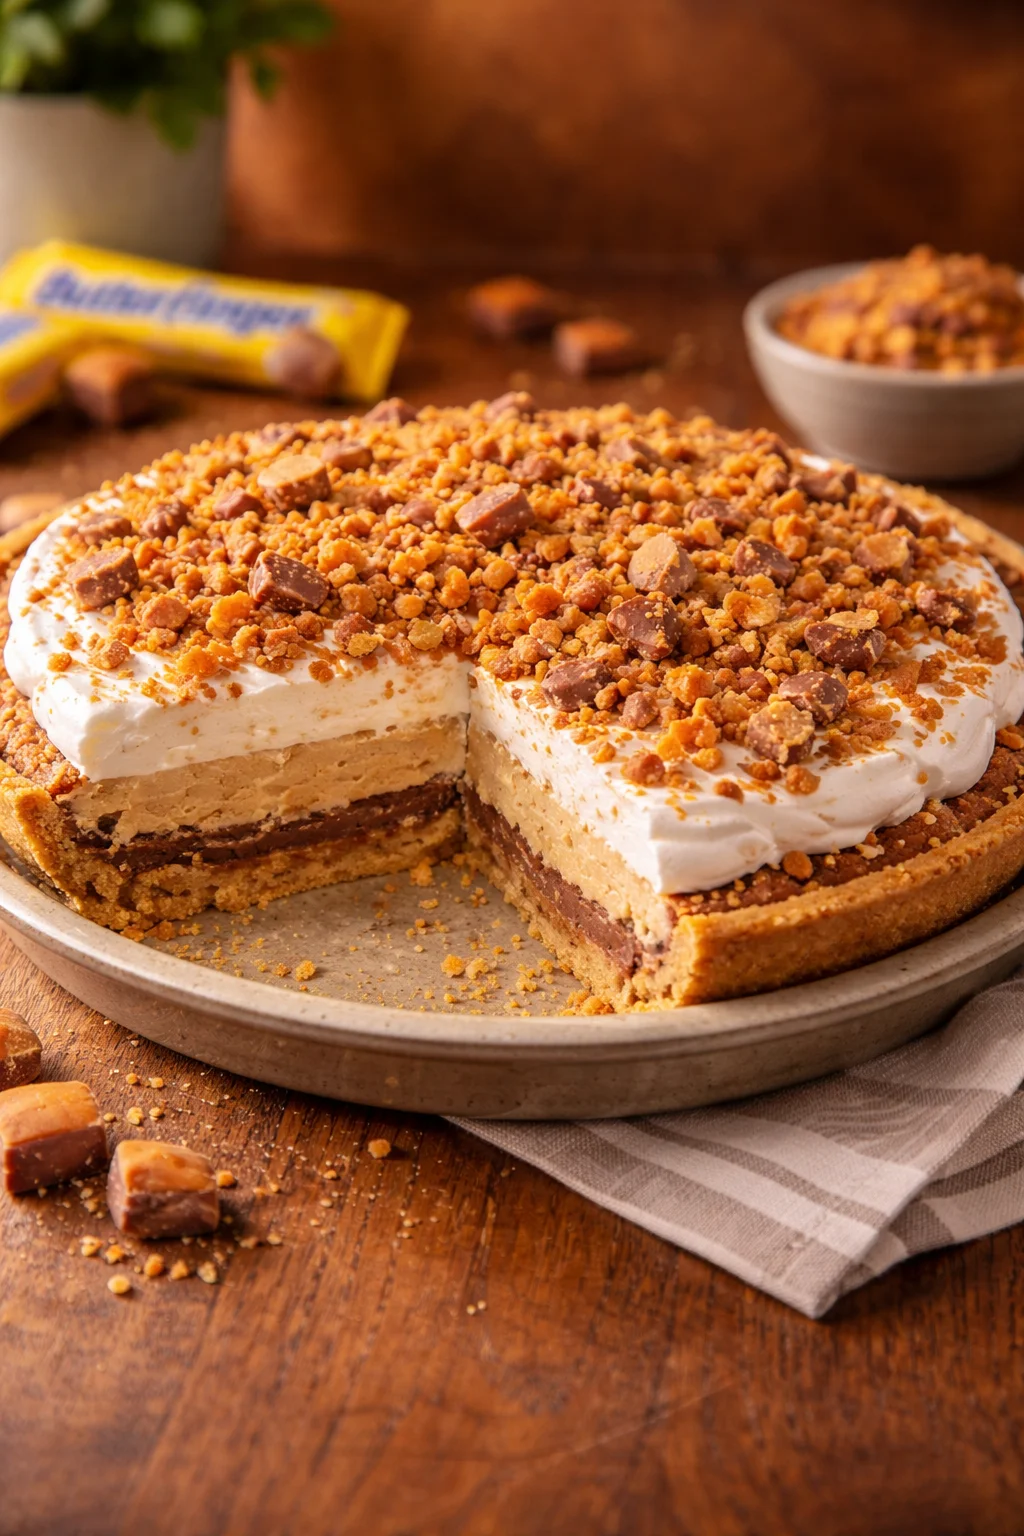
- 4 to 6 Butterfinger candy bars, crushed (save some for the top)
- Optional: a drizzle of chocolate syrup
Directions, the easy way
I will walk you through it like I would if you were standing in my kitchen.
- In a mixing bowl, beat the softened cream cheese until it is smooth.
- Add peanut butter and powdered sugar. Mix again until creamy and well blended.
- Fold in the whipped topping gently so the filling stays light.
- Stir in most of the crushed Butterfinger pieces, saving a handful for the topping.
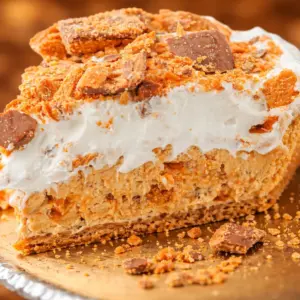
- Spoon the filling into the crust and smooth the top.
- Sprinkle the remaining Butterfinger on top. Add chocolate drizzle if you want.
- Chill for at least 4 hours, but overnight is even better for clean slices.
And that is it. It is one of those desserts that makes you feel like you got away with something.
Also, if you are planning a dessert table and want a totally different treat with a fun bite, these are great too: Chocolate Covered Cherry Rice Krispies Treats.
I made this for a family dinner and my brother went back for a second slice before he even finished his first. He said it tasted like his favorite candy bar but somehow better cold.

Recipe Tips
I have made this enough times to learn what helps and what does not. Here are my real life tips so your BUTTERFINGER PIE turns out creamy, not runny, and easy to slice.
First, soften your cream cheese. If you skip that, you will fight little lumps. I leave it on the counter for about 30 minutes.
Second, do not overmix after adding the whipped topping. When you fold it in gently, the filling stays fluffy. If you beat it hard, it can get heavy.
Third, crush the candy bars the easy way. I put them in a zip top bag and gently whack with a rolling pin. You want a mix of small crumbs and some chunks. The chunks are the best part when you bite in.
A few extra practical notes:
- Chill time matters: 4 hours is the minimum, but overnight is ideal.
- Clean slices: Run a knife under hot water, wipe it, then slice.
- Storage: Keep it covered in the fridge. It is best within 3 days.
If you are serving people who love hearty comfort food along with dessert, I have to mention this one because it is such a crowd meal: Mini Chicken Pot Pies. It is not dessert, but it is the kind of thing that makes the whole table happy.
No-bake option
So here is the good news: this pie is already basically a no bake dessert if you use a store bought crust. That is one reason I keep coming back to it. BUTTERFINGER PIE fits into busy weeks, hot summer days, and those moments when your oven is already doing too much.
If you want to make it fully no bake from start to finish, do this:
Use a premade graham cracker crust, or make your own crust without baking by mixing graham cracker crumbs with melted butter and a little sugar, pressing it into a pie dish, then chilling it until firm.
A couple of no bake tweaks I like:
- Use whipped cream instead of whipped topping if you want a fresher taste. Just whip heavy cream with a little powdered sugar until it holds soft peaks.
- If your kitchen is warm, chill the mixing bowl for 10 minutes before folding in whipped topping. It helps keep things thick.
If you are into no bake or easy pie ideas in general, this one is a fun read too: Keto Coconut Cream Pie. Totally different flavor, but it hits that cool creamy craving.
More pie recipes
Once you make this, it is hard not to start a little pie streak. I love having a couple different options depending on who I am feeding or what season it is.
If you want something fruity and cozy but still easy, I really like checking out ideas like these:
- If you are craving fall flavors, this is a great one to bookmark: Delicious Paleo Pumpkin Pie Filling with Flaky Almond Flour Crust
- If you want a lighter breakfast style twist that still feels like dessert, this is surprisingly satisfying: Delicious Gluten Free Apple Pie Overnight Oats
And if you are more of a savory pie person sometimes, I am with you. A good cheese pie moment is hard to beat.
Common Questions
Can I make BUTTERFINGER PIE ahead of time?
Yes, and it is actually better that way. Make it the night before so it chills fully and slices neatly.
What is the best crust for this pie?
Graham cracker crust is classic, but an Oreo crust is amazing too if you want extra chocolate. Either way, keep it chilled so it holds up.
Can I use homemade whipped cream instead of whipped topping?
Totally. Whip heavy cream with a little powdered sugar until it is fluffy, then fold it in gently. The pie may be a bit softer, so give it plenty of chill time.
How do I keep the Butterfinger pieces crunchy?
Mix some into the filling, but always save a handful for the top right before serving. The topping stays crunchier that way.
Can I freeze it?
Yes. Freeze it covered, then thaw in the fridge for a few hours before serving. The texture stays pretty great, just a little more firm.
A sweet ending and a full fridge
If you want a dessert that tastes like a treat from your childhood but feels easy enough for a random Tuesday, BUTTERFINGER PIE is it. It is creamy, crunchy, and the kind of thing people talk about after the plates are cleared. Stick with creamy peanut butter, let it chill long enough, and do not skip the candy on top. If you make it, I hope you sneak a little extra piece for yourself because you will want one.
Butterfinger Pie
Ingredients
For the pie
- 1 piece graham cracker crust, store bought or homemade Can be made without baking by mixing crumbs with melted butter.
- 8 oz cream cheese, softened Leave out to soften for about 30 minutes.
- 1 cup creamy peanut butter Smooth and easy to mix for best results.
- 1 cup powdered sugar Use for sweetness and stability.
- 8 oz whipped topping, thawed Alternatively, use fresh whipped cream.
- 4 to 6 pieces Butterfinger candy bars, crushed Save some for topping.
- as desired none chocolate syrup Optional drizzle for garnish.
Instructions
Preparation
- In a mixing bowl, beat the softened cream cheese until it is smooth.
- Add peanut butter and powdered sugar, mixing until creamy and well blended.
- Gently fold in the whipped topping to keep the filling light.
- Stir in most of the crushed Butterfinger pieces, saving a handful for the topping.
- Spoon the filling into the crust and smooth the top.
- Sprinkle the remaining Butterfinger on top and drizzle with chocolate syrup if desired.
- Chill for at least 4 hours, or overnight for best results.