
ROSEMARY GARLIC BREAD is my go to move when I want the house to smell amazing and I want something warm in my hands fast. You know those nights when dinner is fine, but it feels like it’s missing something cozy? That’s when I grab flour, garlic, and rosemary and make a loaf that turns a basic meal into a whole moment. It’s also the kind of bread that makes people wander into the kitchen asking, “What are you making?” even if they weren’t hungry. And honestly, I love that little bit of magic.

Why You Will Love This
This bread hits that sweet spot between simple and impressive. You do not need fancy skills, just a little patience and a few good ingredients. The rosemary gets toasty in the oven, the garlic melts into the crumb, and the crust comes out crackly if you bake it hot enough.
Here’s why I keep coming back to it:
- Big flavor with basic pantry stuff, especially if you already have dried yeast and olive oil.
- It’s flexible, you can bake it as a round loaf, a long rustic shape, or even smaller rolls.
- It makes leftovers exciting. Soup night feels like a restaurant meal with this on the side.
- Perfect for garlic lovers without tasting harsh, because baking mellows everything out.
Also, if you’re the type who likes garlic themed side dishes, you should peek at air fryer baked garlic parmesan potatoes sometime. It’s the same cozy vibe, just in potato form.
“I made this for a family dinner and everyone kept tearing off pieces before it even hit the table. The crust was perfect and the rosemary made it smell like a bakery.”
Pro Tips for Artisan Rosemary Garlic Bread
I’m not a professional baker, but I’ve made this enough times to know what actually helps. Think of these as the little shortcuts to getting that artisan style feel without stressing out.
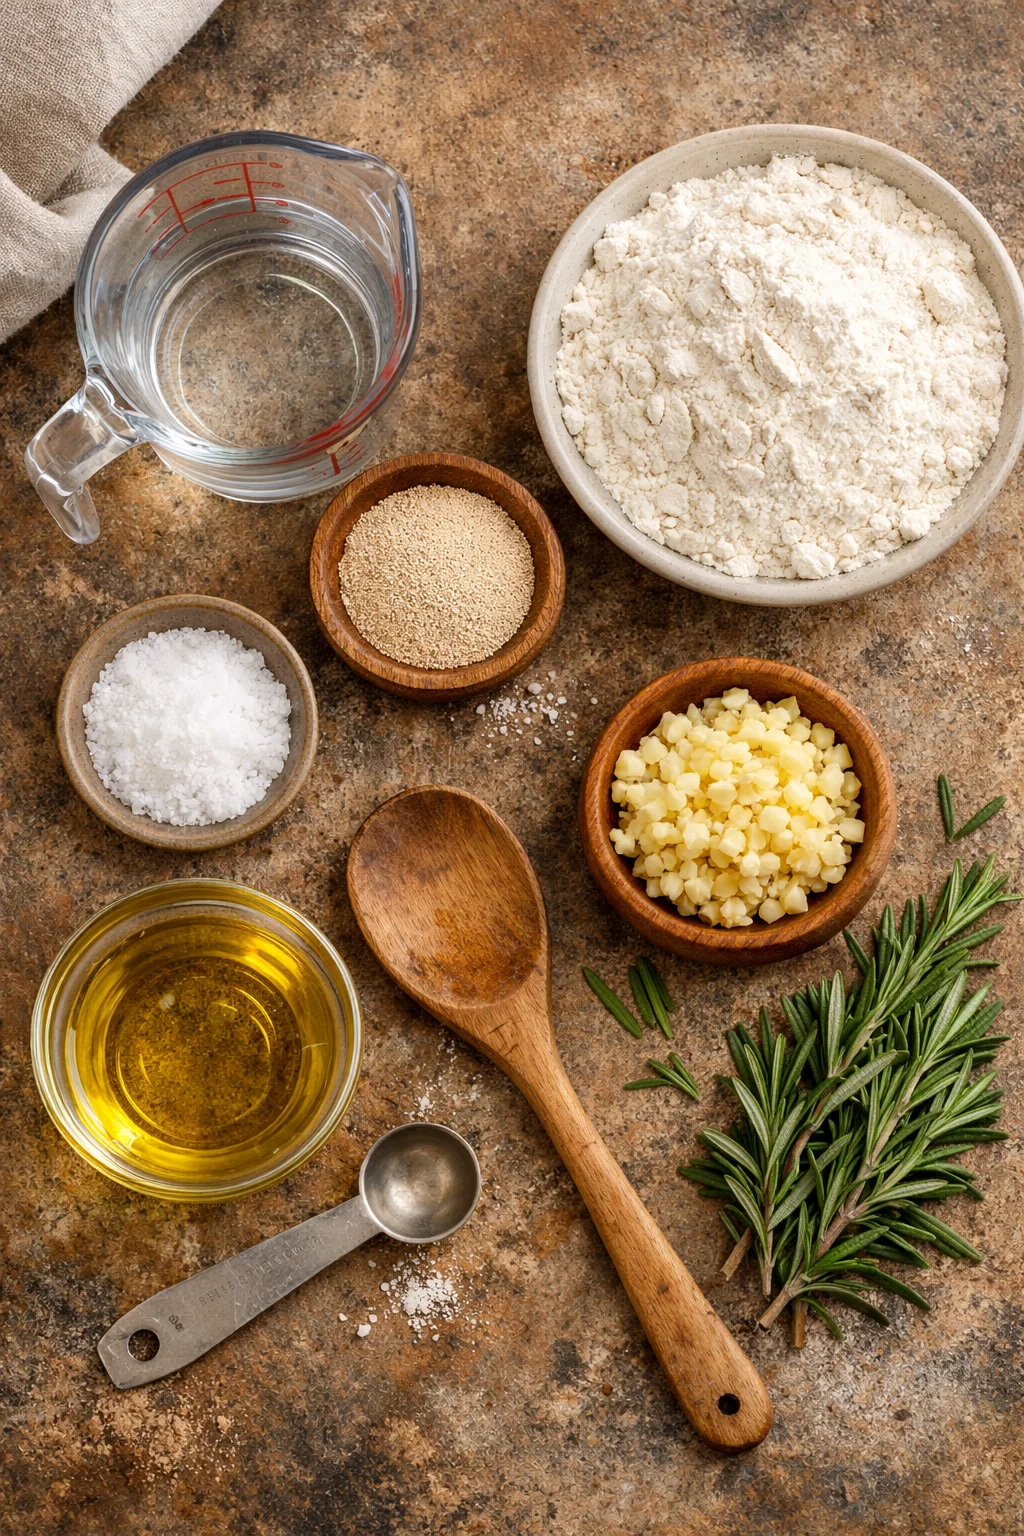
What you will need
- Warm water (not hot, think bath water)
- Active dry yeast or instant yeast
- Flour (bread flour is great, all purpose works too)
- Salt
- Olive oil or melted butter
- Fresh rosemary (dried works, but fresh is louder and better)
- Garlic (fresh minced is best, roasted garlic is even better)
Little things that make a big difference
Let the dough rest. Even 30 extra minutes can improve the texture. When the dough has time, it bakes up lighter and less dense. I usually do a simple rise until it looks puffy, then shape it, then let it rise again while the oven heats.
Do not drown the dough in flour. A slightly sticky dough is normal and usually means a better crumb. If you keep adding flour just to make it “clean,” the loaf can end up dry.
Salt matters. Bread without enough salt tastes flat, especially with garlic. It should taste seasoned, not salty.
Use real rosemary if you can. Chop it fine so you do not get big twiggy bites.
And if you’re already on a garlic kick, I’m just going to quietly suggest these air fried garlic mushrooms for a snack while the dough rises. They disappear fast.
How to bake this bread without a Dutch oven
Not everyone has a Dutch oven sitting around, and you do not need one to make ROSEMARY GARLIC BREAD with a great crust. The goal is simple: create steam early in baking so the crust develops well, then finish baking in dry heat so it gets crisp.
My easy steam trick
Preheat your oven to 450°F. Put a sturdy metal pan on the bottom rack while it heats. Shape your loaf on a parchment lined baking sheet. When you slide the bread into the oven, carefully pour about 1 cup of hot water into the preheated metal pan and quickly close the door. That burst of steam helps the crust.
Important: use a metal pan you do not care about too much, because repeated steam can make it look rough. Also, do not use glass for this, because sudden temperature changes can crack it.
Simple baking steps
Here’s the way I usually do it:
- Heat oven to 450°F, with an empty metal pan on the lower rack.
- Slash the top of the loaf with a sharp knife so it expands nicely.
- Bake 20 minutes with steam (water added to the lower pan).
- Remove the steam pan carefully, drop heat to 425°F, and bake another 15 to 25 minutes.
- Cool at least 20 minutes before slicing, I know it’s hard.
How do you know it’s done? The crust should look deep golden brown, and if you tap the bottom it should sound hollow. If you have a thermometer, the center should be around 200 to 205°F.
This is also a fun bread to use as a base for something messy and amazing, like Mississippi sloppy joes on garlic bread. It’s not exactly subtle, but it is a good time.
Variations
Once you make ROSEMARY GARLIC BREAD the classic way, you’ll start wanting to play with it. Here are a few variations I actually make, not just ideas that sound cute on paper.
Roasted garlic version: Cut the top off a head of garlic, drizzle with olive oil, wrap in foil, and roast at 400°F for about 35 to 45 minutes until soft. Squeeze the cloves into the dough or mash into the butter for brushing. Roasted garlic tastes sweet and mellow, not sharp.
Cheesy version: Add a handful of parmesan or shredded mozzarella into the dough. Or sprinkle cheese on top during the last 10 minutes so it doesn’t burn.
Herby mix: Rosemary plus thyme is great. A tiny pinch of red pepper flakes is also nice if you like a little heat.
Olive oil and flaky salt finish: Brush the top with olive oil when it comes out and sprinkle with flaky salt. This makes it feel like bakery bread with almost no effort.
If you’re planning a full meal, this bread goes so well with garlic heavy mains. I love pairing it with one pan dairy free creamy garlic shrimp when I want dinner to feel special but still manageable.
How to reheat your garlic rosemary bread
Let’s talk leftovers, because this bread is so good on day one, but it can still be awesome later if you reheat it the right way. The biggest mistake is microwaving it until it’s tough and chewy. If you want that fresh baked feel, the oven is your best friend.
For slices: Heat the oven to 350°F. Put slices directly on the rack or on a baking sheet for 6 to 8 minutes. If you want extra flavor, brush lightly with butter or olive oil first.
For a whole loaf: Wrap it loosely in foil and warm at 350°F for about 12 to 15 minutes. Then open the foil for 2 to 3 minutes to re crisp the crust.
For freezer bread: Slice before freezing if you can. Reheat slices from frozen at 350°F for about 10 minutes. No need to thaw.
One more idea: if the bread is getting a little stale, turn it into garlic rosemary croutons. Cube it, toss with olive oil, salt, and a little extra chopped rosemary, then bake at 375°F until crisp. That’s a salad upgrade you will actually look forward to.

Common Questions
1) Can I use dried rosemary instead of fresh?
Yes. Use about one third the amount since dried is stronger. I still like to rub it between my fingers first to wake up the flavor.
2) How much garlic is too much?
For most people, 3 to 5 cloves in the dough is plenty. If you are a serious garlic fan, go for roasted garlic so you can add more without it getting harsh.
3) Why did my bread turn out dense?
Usually it needed more rising time, or the water was too hot and weakened the yeast. Give it time to get puffy, and keep your water just warm.
4) Can I make the dough ahead of time?
Yes. Let it rise once, then cover and refrigerate overnight. Bring it back toward room temp, shape it, let it rise again, then bake.
5) What should I serve with it?
Soup, pasta, salad, or anything with sauce. It’s also great with skewers and grilled style dinners, especially when you want something to mop up the plate.
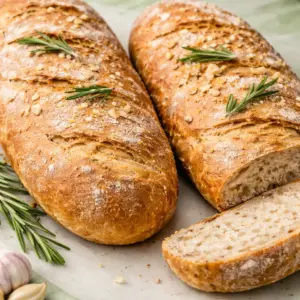
A cozy loaf you will want on repeat
If you’ve been craving a homemade loaf that feels comforting but not complicated, this is the one. ROSEMARY GARLIC BREAD is all about simple ingredients, a warm oven, and that moment you slice into the crust and smell the garlic and herbs. If you want more inspiration, I love reading Crusty Roasted Garlic and Rosemary Bread – Life As A Strawberry and I also recommend Rosemary Garlic No-Knead Bread, the Two Hour Method when you need a faster approach. Now go make a loaf, and do not be surprised if you end up tearing off “just one more piece” straight from the cutting board.
Rosemary Garlic Bread
Ingredients
Main Ingredients
- 2 cups Warm water Not hot, think bath water
- 2 teaspoons Active dry yeast Or instant yeast can be used
- 4 cups Flour Bread flour is great, all-purpose works too
- 2 teaspoons Salt To taste, avoid flat bread
- 2 tablespoons Olive oil Or melted butter
- 1 tablespoon Fresh rosemary Dried works, but fresh is better
- 3-5 cloves Garlic Fresh minced is best, roasted garlic is even better
Instructions
Preparation
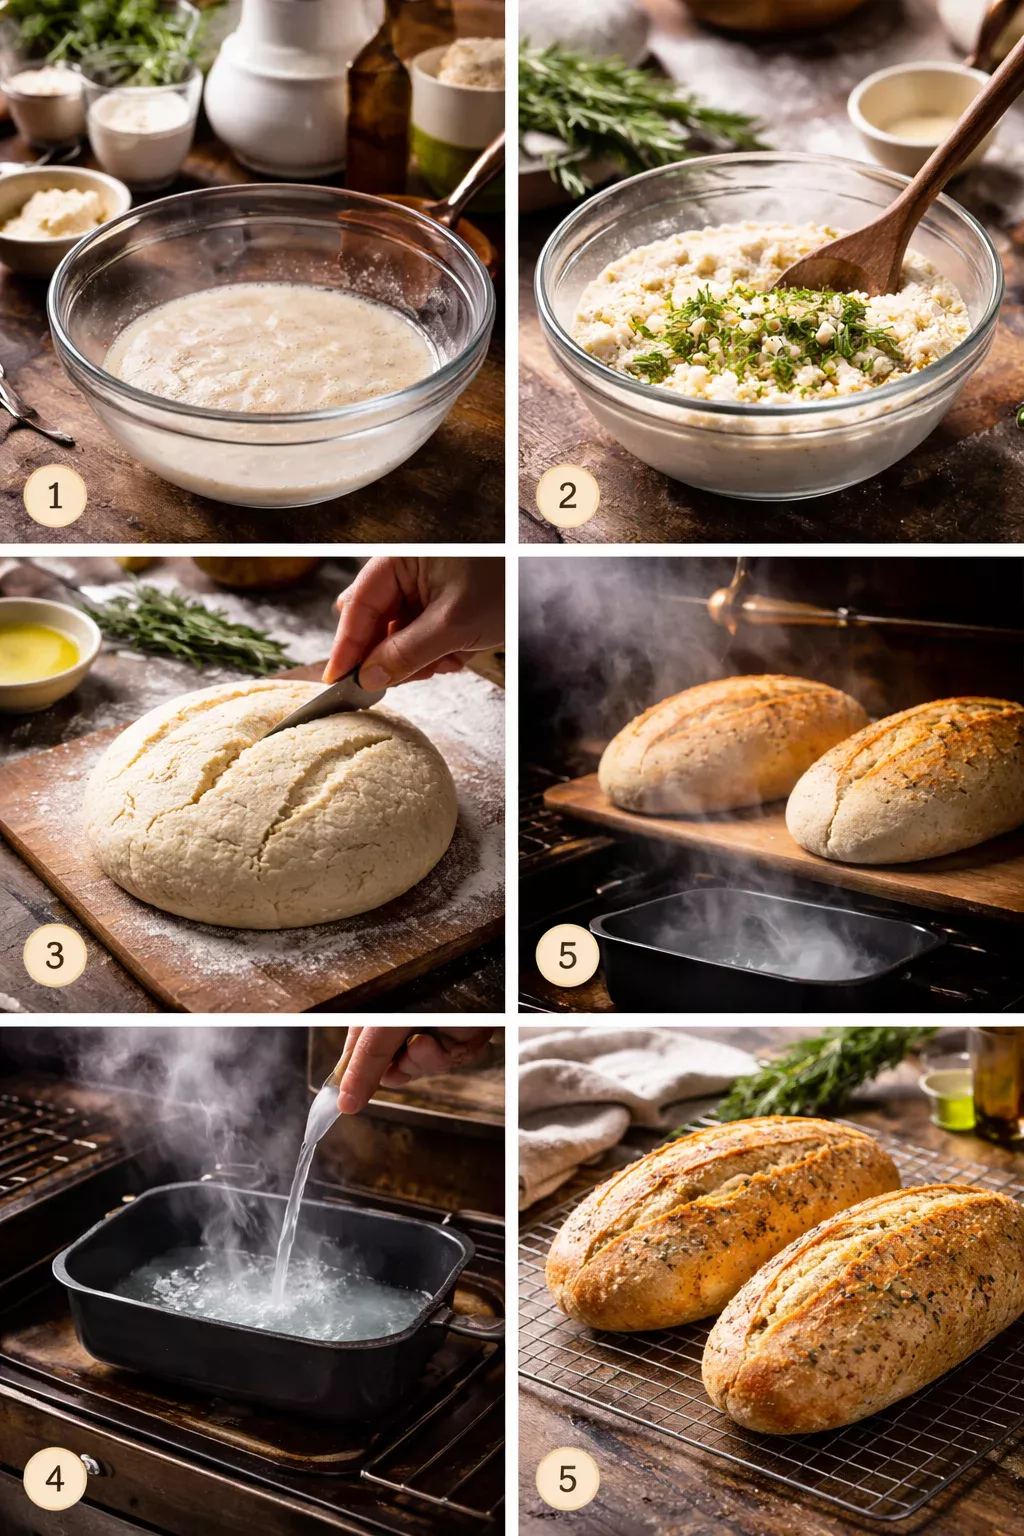
- In a large bowl, combine warm water and yeast. Allow it to sit for about 5 minutes until it becomes frothy.
- Add flour, salt, olive oil, rosemary, and minced garlic to the yeast mixture. Stir until combined.
- Knead the dough for about 10 minutes until smooth and elastic.
- Let the dough rest in a greased bowl, covered, for at least 30 minutes until puffy.
Baking
- Preheat the oven to 450°F. Place a sturdy metal pan on the bottom rack.
- Shape the dough into a loaf and place it on a parchment-lined baking sheet.
- Slash the top of the loaf with a sharp knife.
- Bake for 20 minutes while adding steam by pouring hot water into the metal pan.
- Remove the steam pan, reduce the heat to 425°F, and bake for an additional 15 to 25 minutes.
- Remove from the oven and cool for at least 20 minutes before slicing.